BIM Publisher
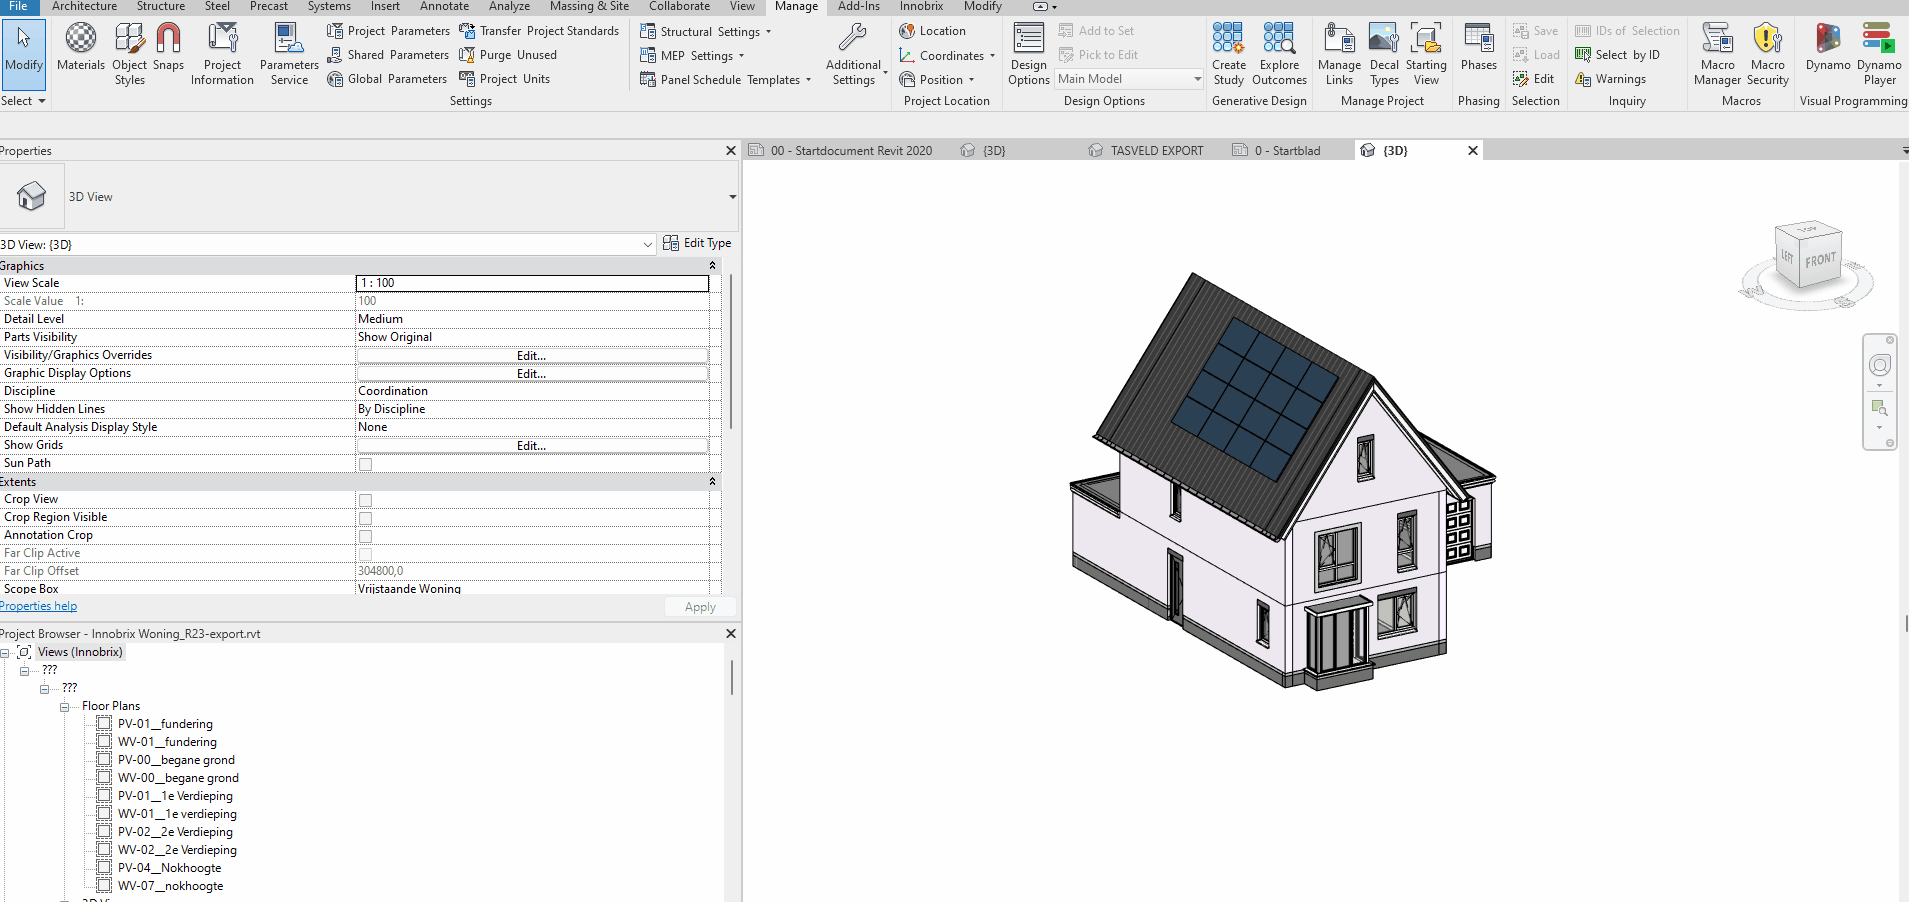
Step 1: Choose a 3D View
After installing the Innobrix Add-in for Revit, the next step is choosing a suitable 3D view in Revit to export your house, apartment complex to the Innobrix platform.
It is wise to hide certain elements from the chosen 3D view before exporting. While exporting to
an IBX file, Innobrix will export all geometric elements except Model Text and RPC elements. This can (unnecessarily) process model confusion
which may impact load time or performance in the Innobrix Viewer.
Make sure you use Scope boxes or Section boxes, or work with View Filters.
Step 2: Export
Click the Export without options button to export your 3D view to an Innobrix file. The file name of the IBX file will correspond to
the current Revit document name. If the file has not yet been saved, an automatically generated name will be created.
Depending on the amount of geometry and heaviness of the 3D view or model, it may take a while to export the model.
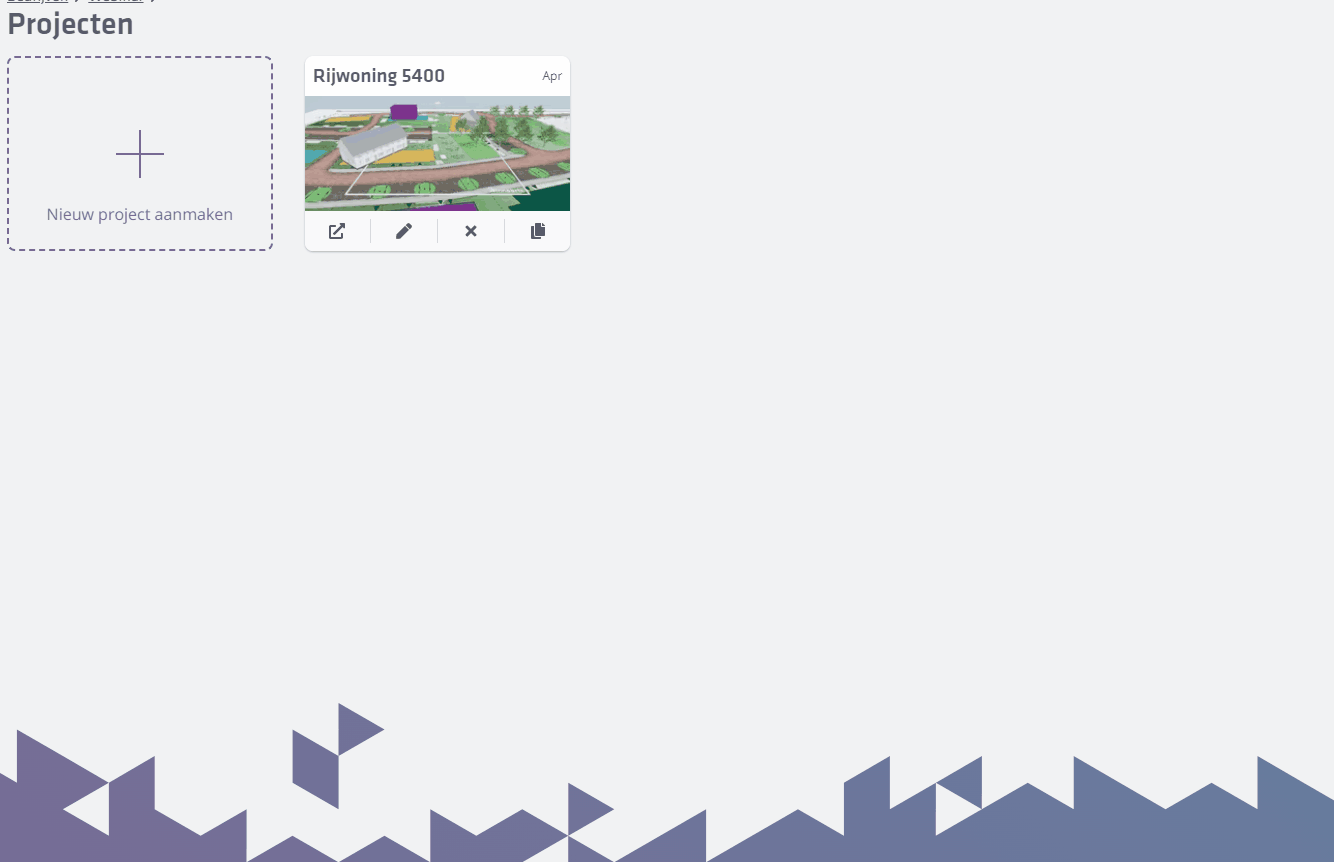
Step 3: Create a BIM Publisher project
Log in to Innobrix Studio and click Create new project on the Projects page.
Choose BIM Publisher as the project type and enter a name for the project. Other project properties
settings you can fill in as you wish.
Click Save to create the new project.
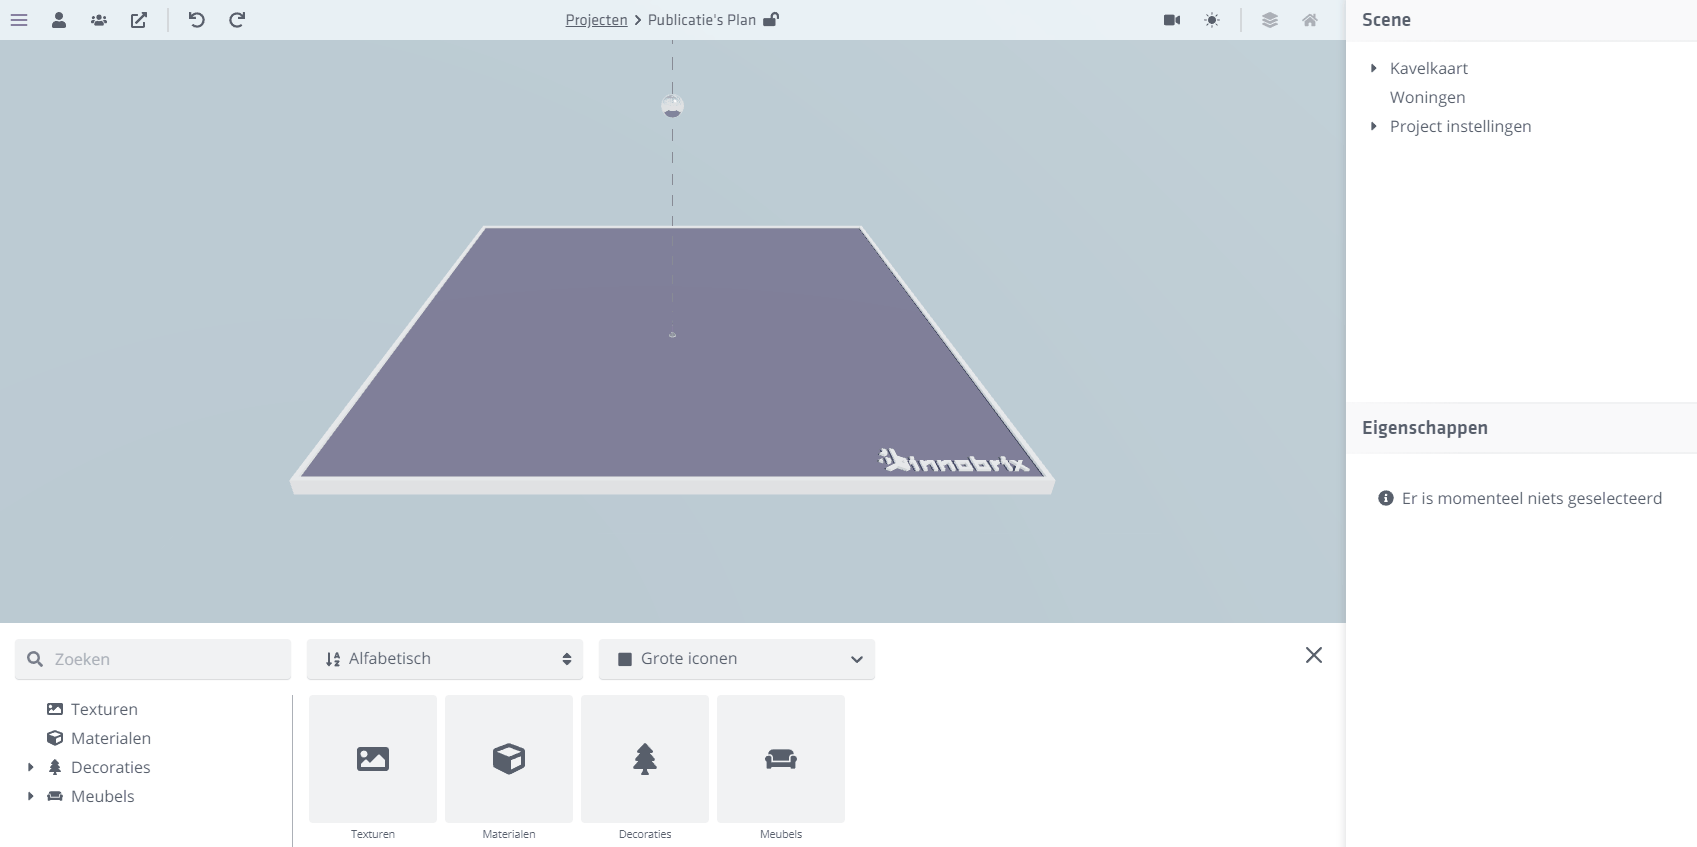
Step 4: Import the *.IBX file
Click on the thumbnail of the project you just created. This will take you to the project's Plan-Editor.
Then drag the exported model into the 3D environment and wait until the processing process is complete, and is shown in the 3D situation.
Note that this can take quite a while! The more exported, the longer it takes.
Fill in Home properties
After the model has appeared in the 3D situation, you can fill in miscellaneous properties for the
final presentation in the Innobrix Viewer.
Step 5: Materialise the model
Go to the Configurable-Editor of the model you have just imported. Within this editor, we are going to format the model with textures.
You can access this environment via the Scene hierarchy --> Dwellings --> [Name of model] --> Open Editor.
 .
.
We can then start uploading and assigning textures to the materials that are
linked to the model. Linked materials and imported textures can be found in the Content Browser (the `tray' at the bottom of the screen).
Upload textures
Click on Textures and upload the textures you want to use to format your model.
(For example, think of masonry textures, floor and wall finishes, plumbing, roof tiles, etc.) You can upload textures (in bulk) by uploading them from your directory
on your PC into the Textures tab.
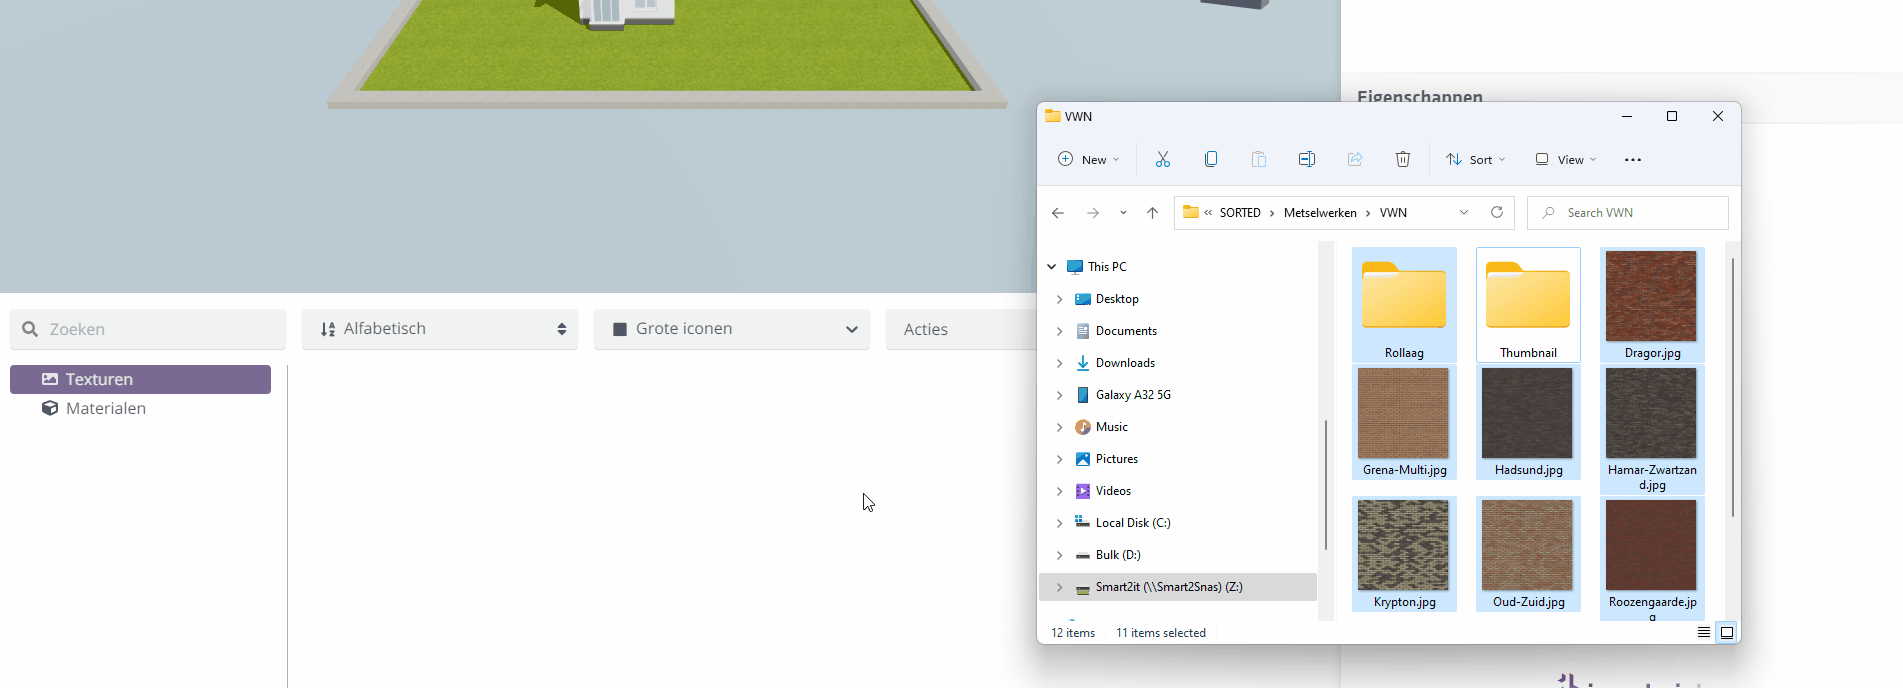
If you don't have any available textures? Then check out our Downloads for an available set.
Assign texture to a material
All materials available on the model can be found under the Materials tab in the Content Browser.
You can use the Materials picker to quickly find out which material is on (part of) the model. To do this, use the hotkey i on your
keyboard which will turn your cursor into a pipette. Then click on the element you want to attach a texture to. The Properties
of the material present on the element will now be displayed.
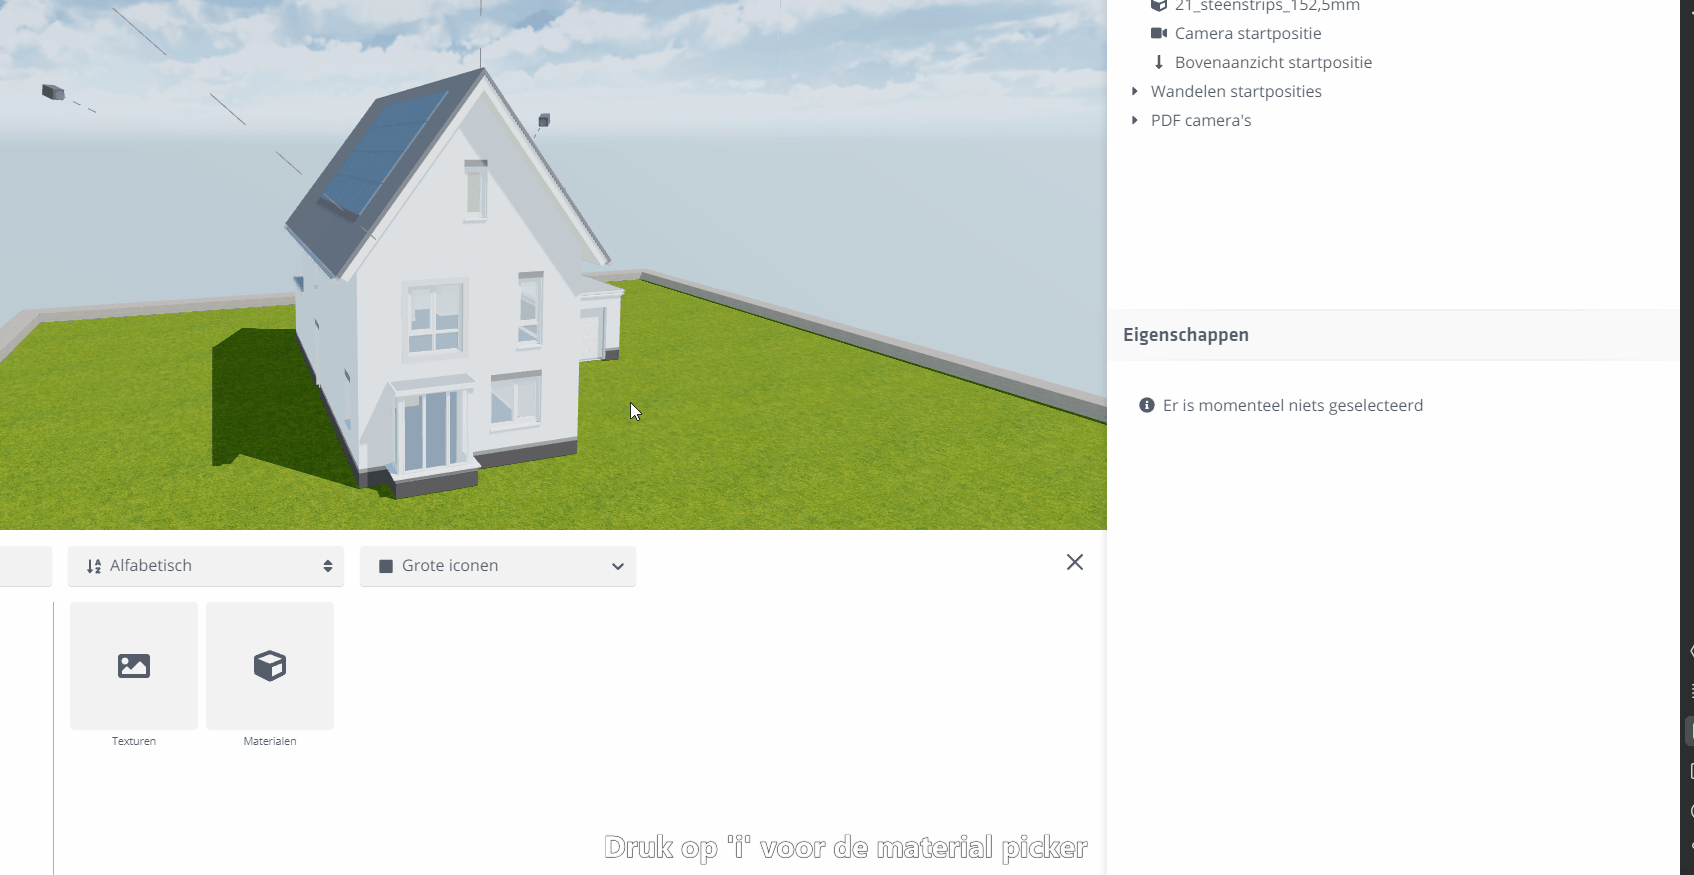
You can then drag a texture from the Textures tab to the Texture slot to attach the texture to the material. All elements that
using the relevant material are now provided with the chosen texture.
Other properties of a material can of course also be modified. All possible Material properties can be viewed here.
Repeat assigning textures to materials, adjusting material properties until you are satisfied with the visual result.
Step 7: Check your floors
While exporting your 3D view from Revit, more (or too few) levels may have come with it that are used in the Floor changer.
In that case, just check that the number of floors shown by the FloorChanger is correct with what the model actually has. If not,
then you can change that by creating floors yourself or delete/disable.
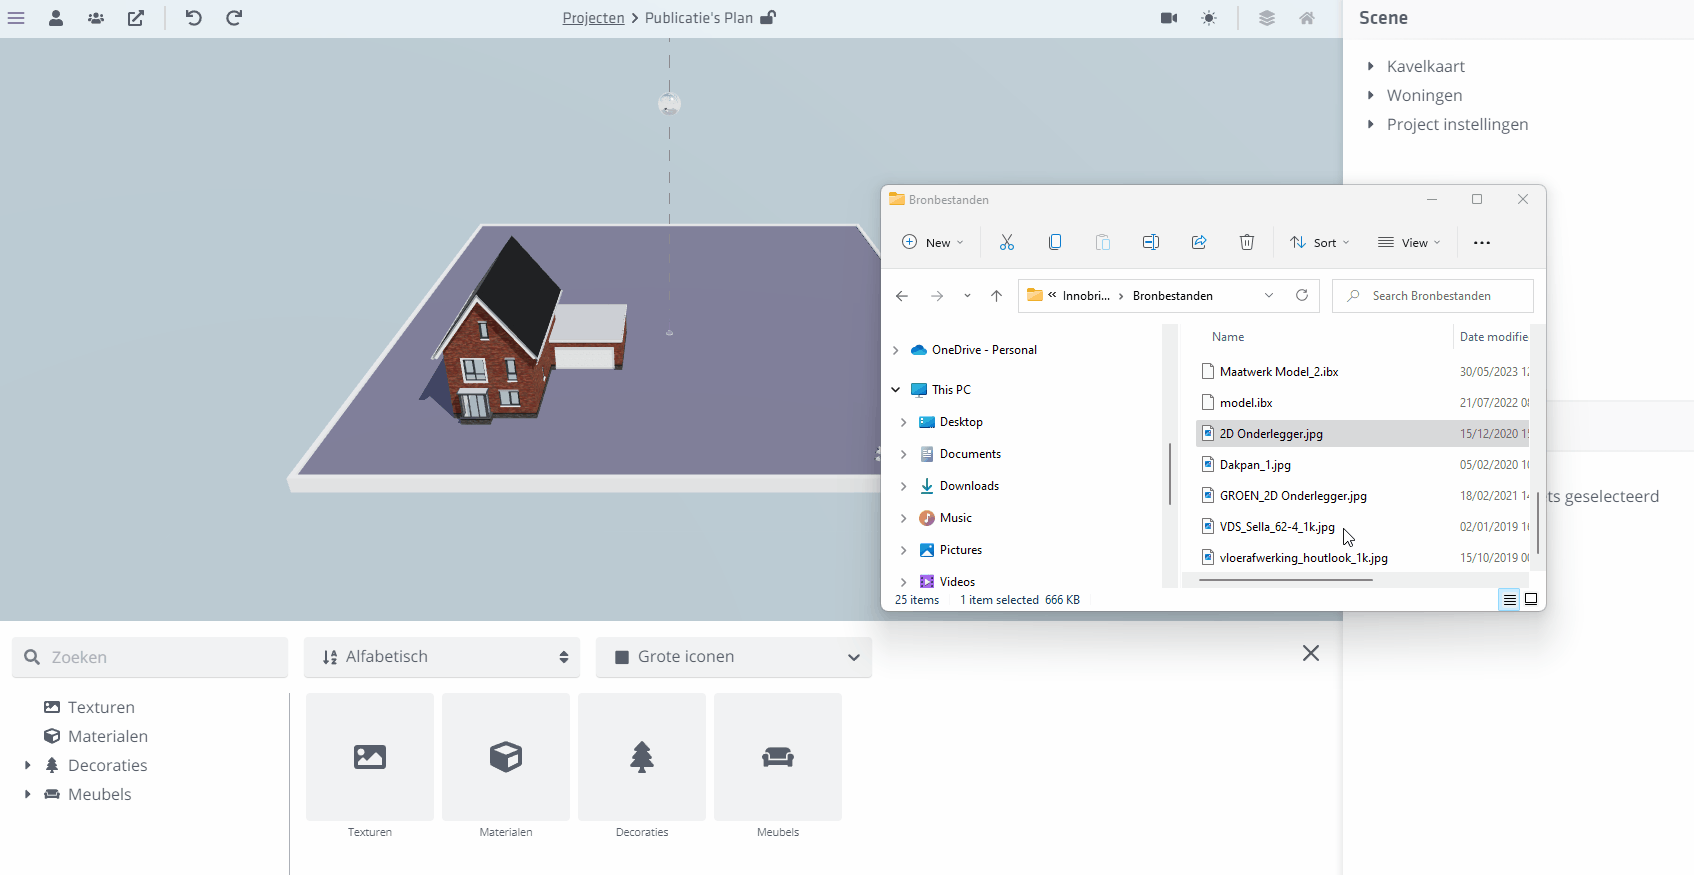
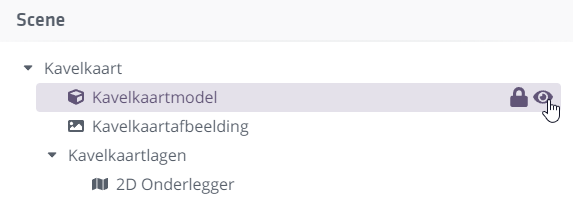
Step 8: Import a parcelmap or situation drawing
To add some context to your project, you can upload a 2D overlay in the form of a .jpg, .jpeg, .png pf .svg.
Return to the Plan-Editor and click and drag an image into the 3D environment of the Plan-Editor.
Scale & Move
It is often the case that the situation drawing is not shown at exactly the right scale, or needs to be adjusted position-wise. This can
done by scaling (via the hotkey S) or moving (via the hotkey G) and/or rotating (hotkey R) the situation drawing.
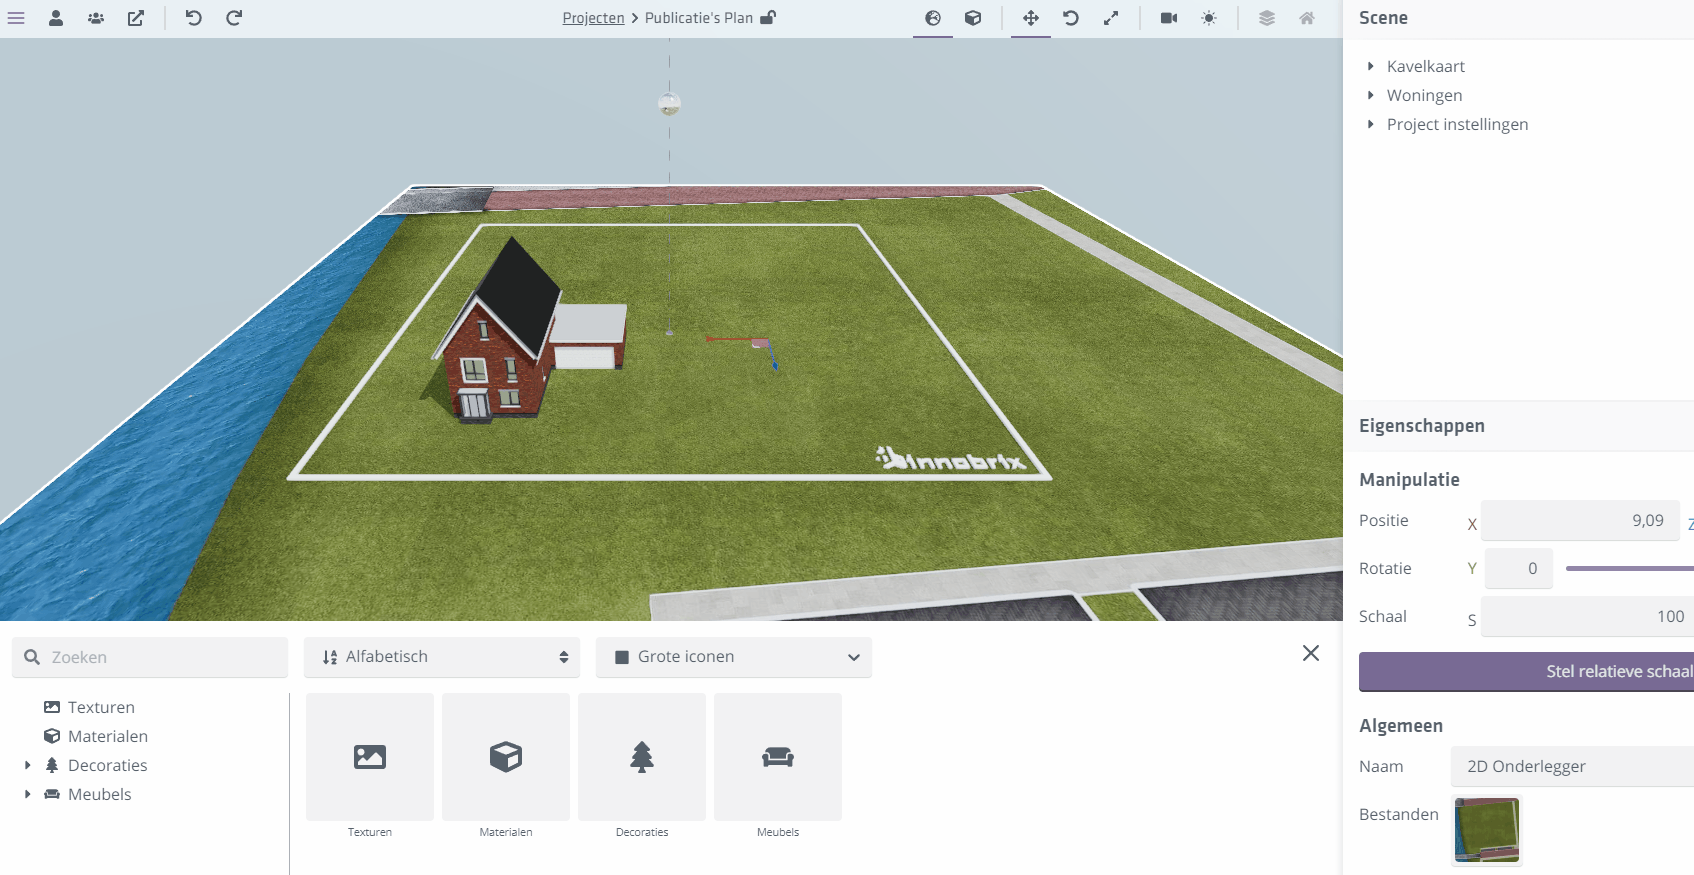
Use these tools to position the coaster correctly in the environment. The House can also be moved and rotated in the same way.
You can hide the default Innobrix purple parcelmap by clicking on the icon.
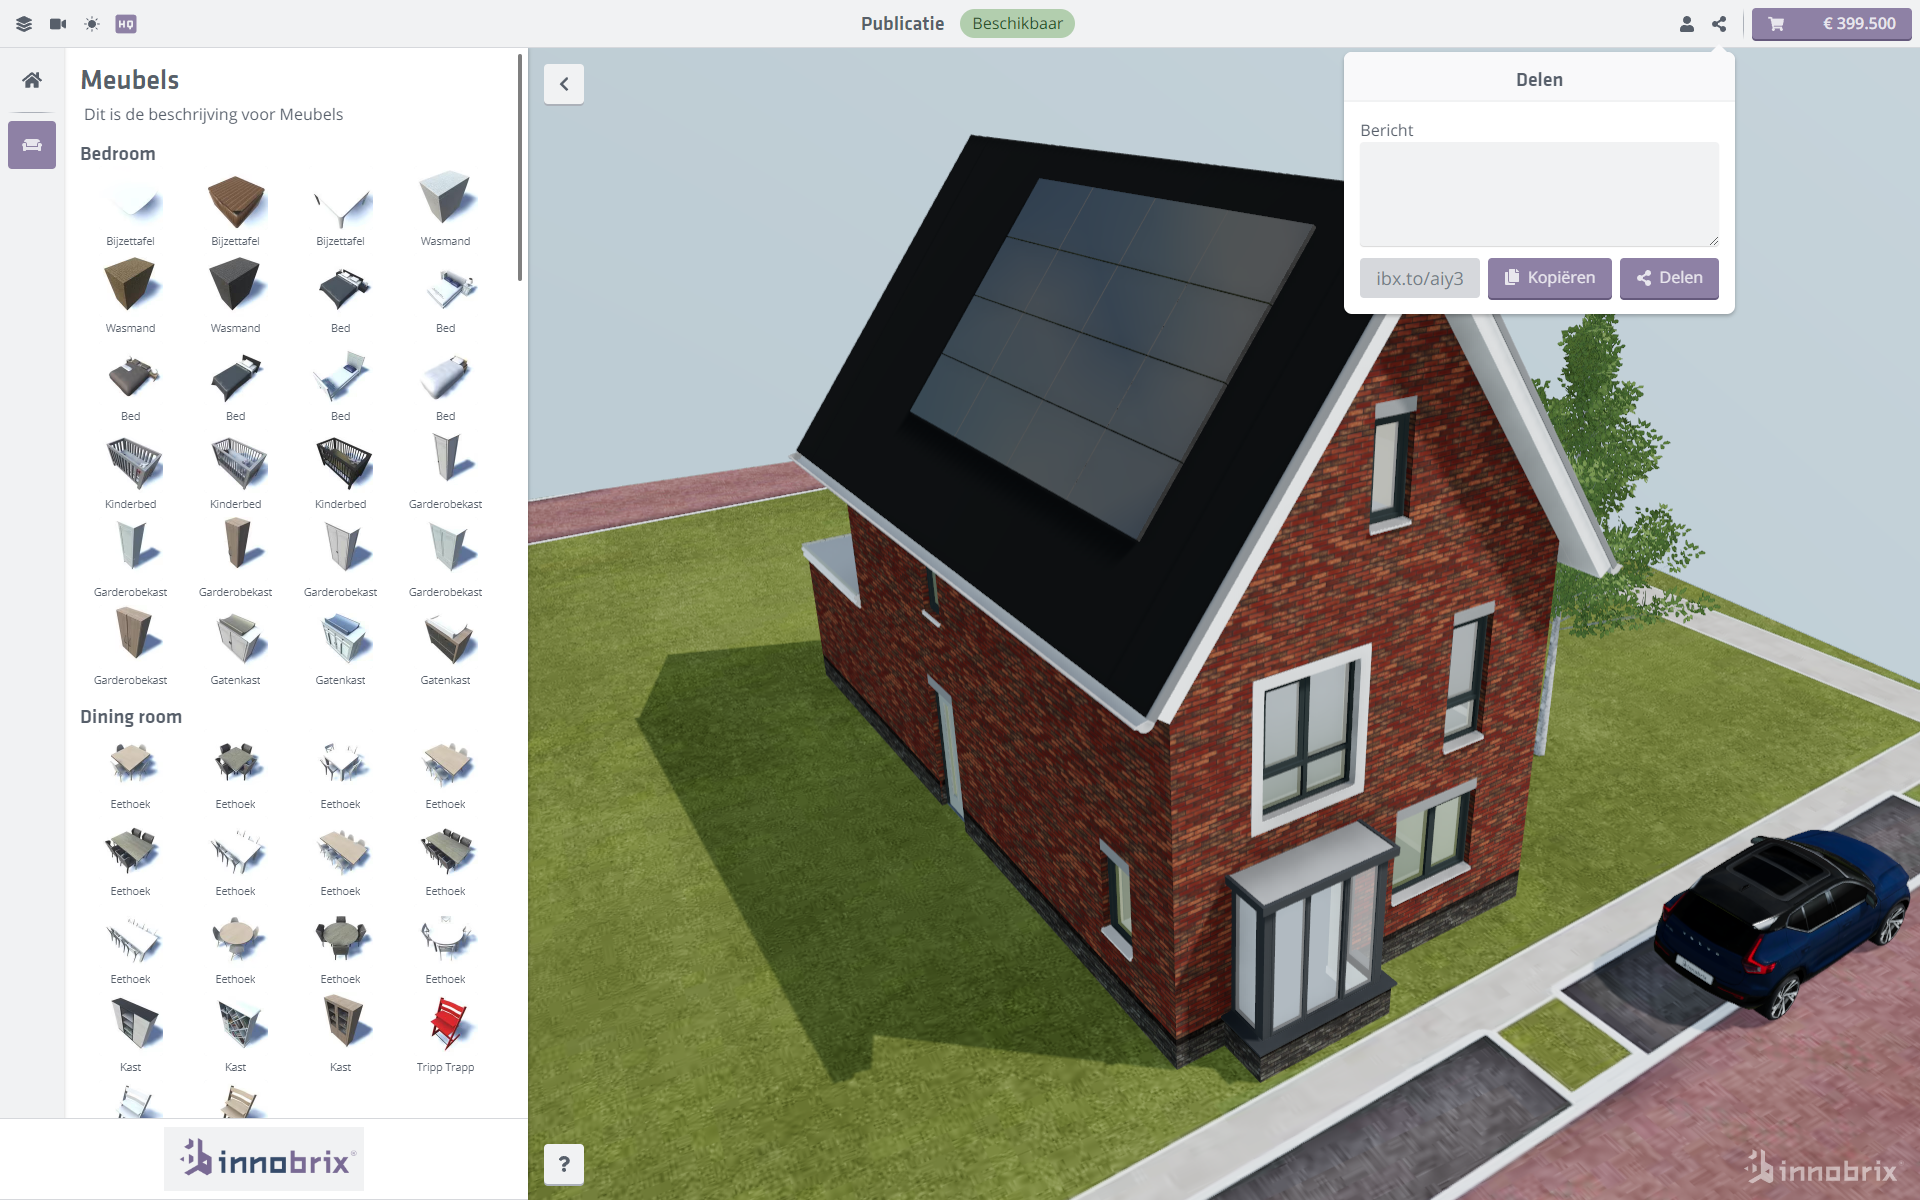
Step 9: Decorating & Presenting!
As a final step before publication, you can still use some decorations to enrich the 3D environment. By adding decorations from
the Decorations tab in the Content Browser inside the 3D situation, you can spice up the 3D environment.

And finally, view and share the final result in the Innobrix Viewer.