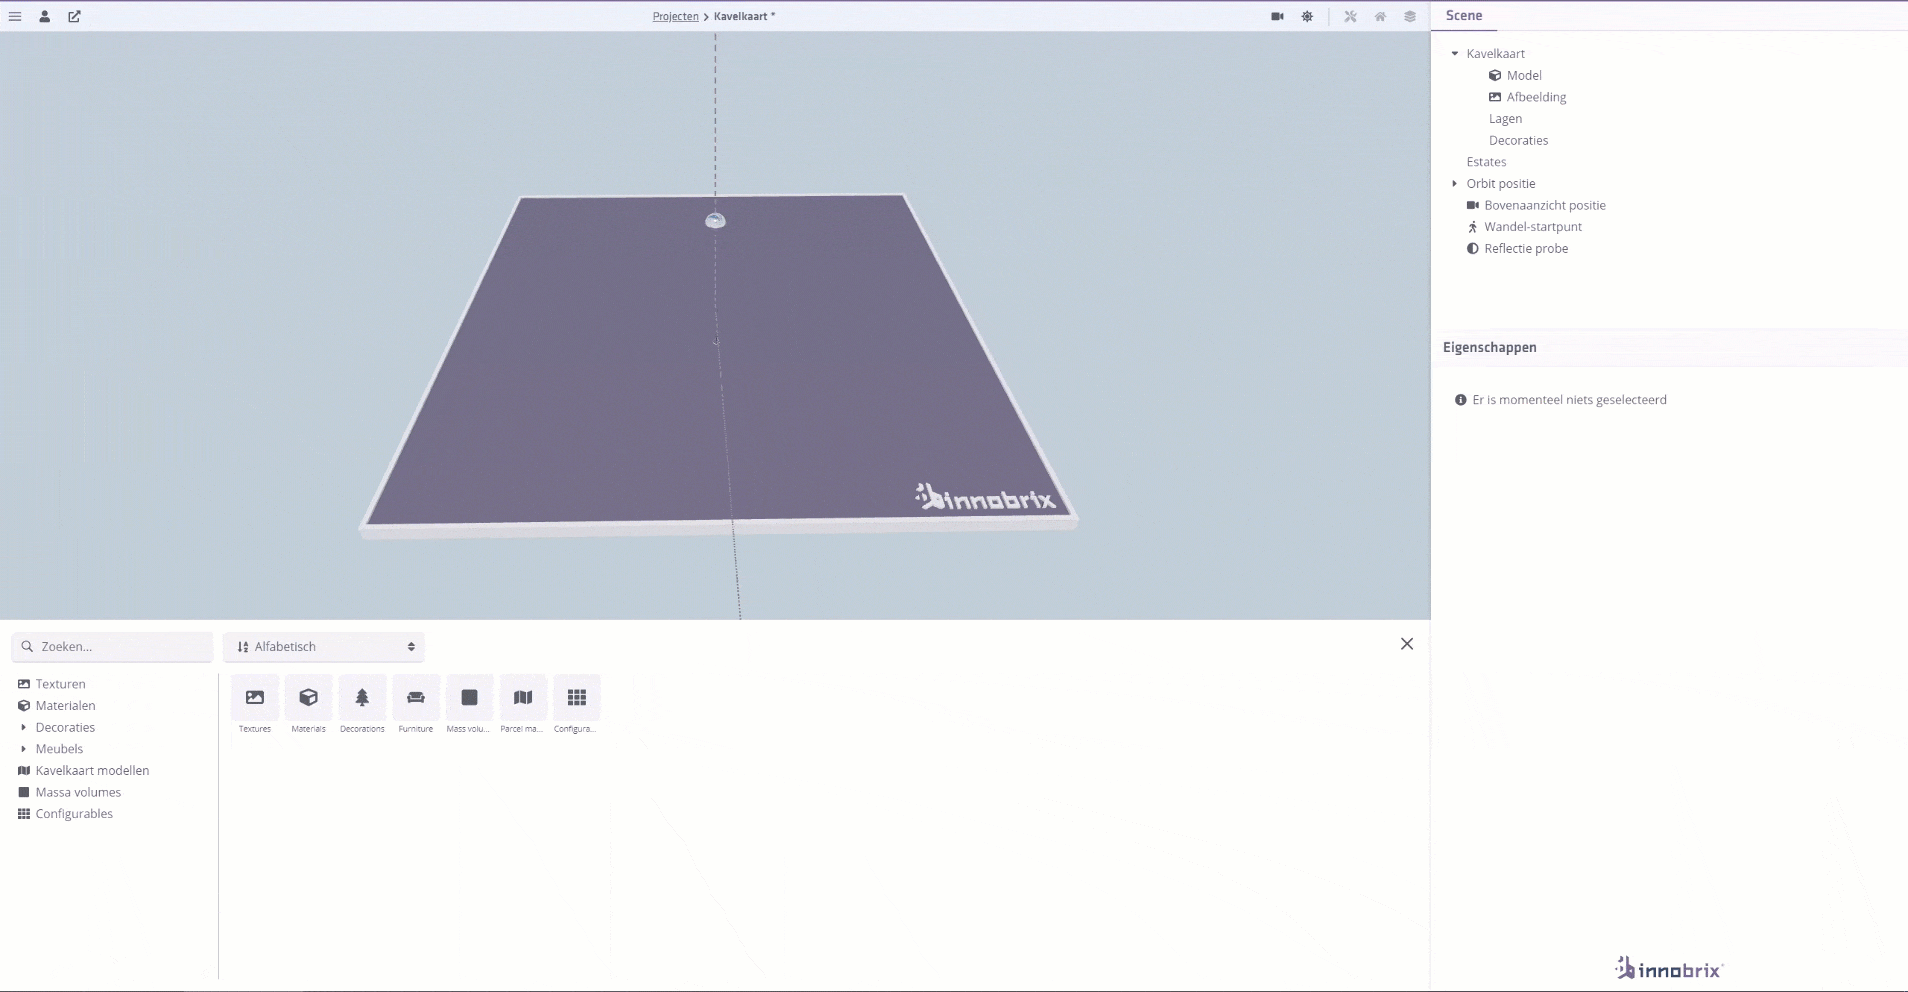
3.2 - Using the Plan Editor
Now that your project exists you can use the Plan Editor to build the actual (new-build) situation. Simply put, you need three ingredients:
*1. A Configurable (the model with options you prepared earlier)
-
A site plan or base layer
-
Decorations and/or furniture to dress the 3D environment*
Place a Home by dragging your (own) Vrijstaande Woning model from your Tutorials library (found under Configurables in the Content Browser) into the 3D environment.
If you prefer, you can also use the Vrijstaande model provided by Innobrix.
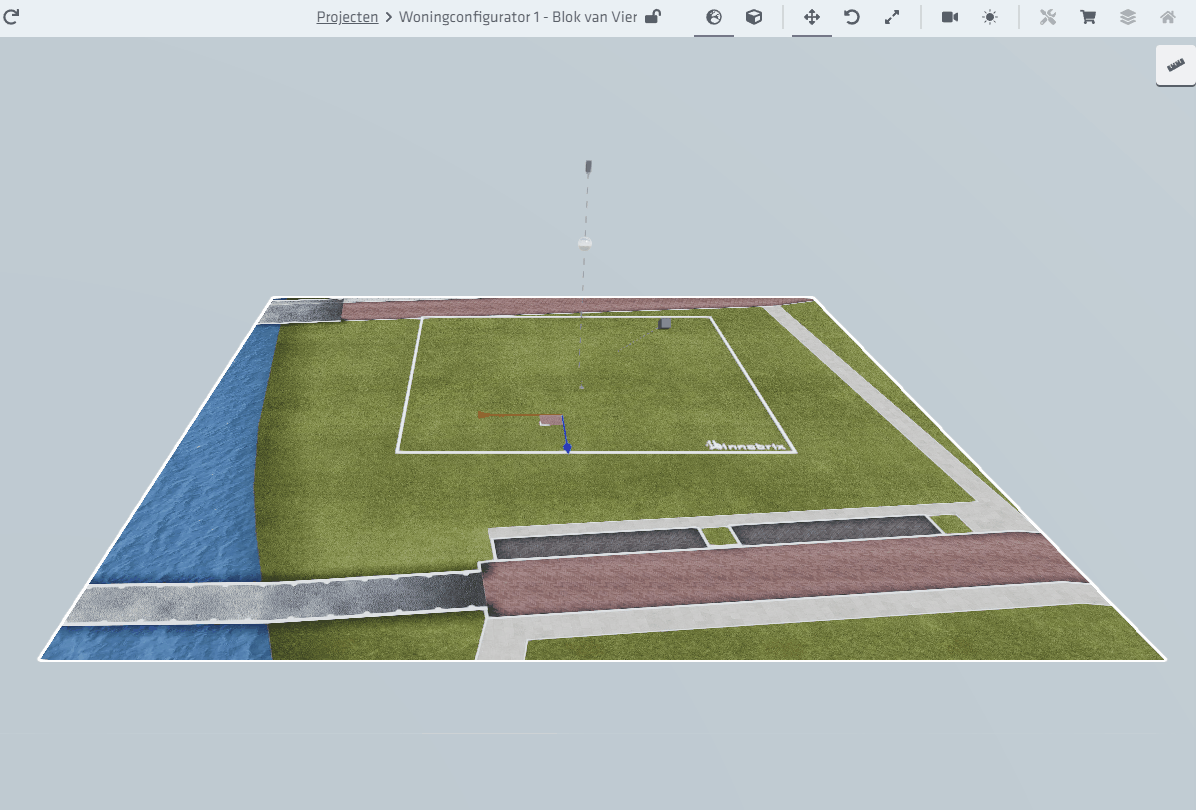
You can move the Home G, rotate it R, and duplicate it CTRL + D. We still need to determine the location of the Home, which is where a base layer comes in. Base layers come in various formats and extensions.
The site plan
The site plan for your new-build project is often a suitable base layer that clearly shows the plots. For this tutorial we use a 2D base layer. These base layers are accepted as .png, .jpg, .jpeg, and .svg. .dwg and .pdf are currently not supported.
The easiest way to load a site plan is to drag it from a folder on your computer into the 3D environment.
Import a site plan or base layer of your choice by dragging the file into the 3D environment of the Plan Editor.
After loading the site you can scale the base layer S. Drag the handles to make it larger or smaller.
Rotating R works similarly: drag the circle to rotate.
Scaling
Rotating
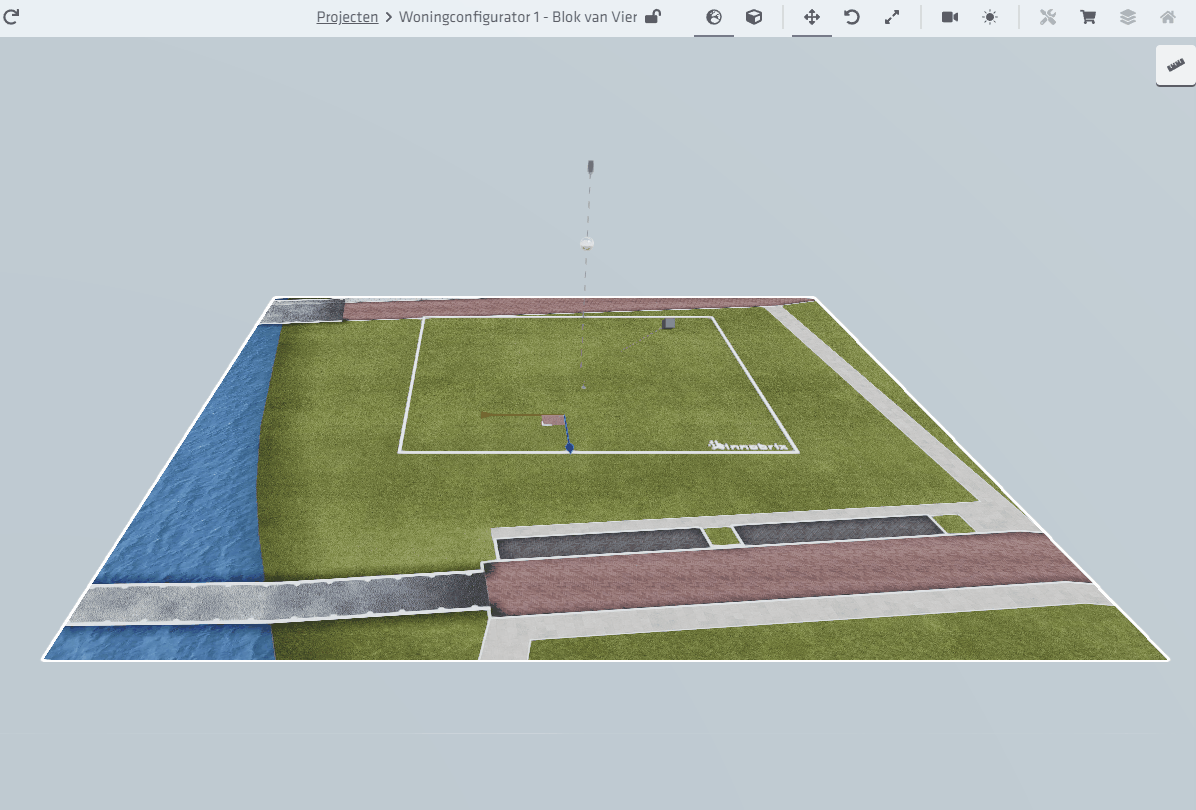
Use these tools combined with move G to place the Home in a suitable position.
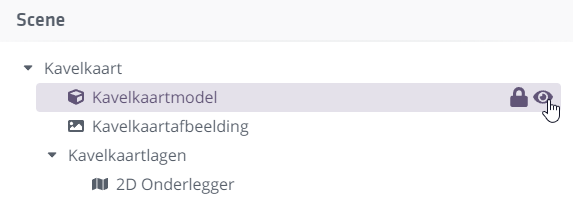
You can hide the purple default Innobrix site model via the Scene hierarchy.