1.3 - Styling the model
Materializing in the Configurable Editor
Freshly imported models look rather dull and flat; not exactly ready for your end user. That is because no Materialization has taken place yet. By materialization we mean assigning textures and tweaking material properties that determine the look and visual quality of your model.
Materializing happens in the technical workshop of Innobrix we call the Configurable Editor.
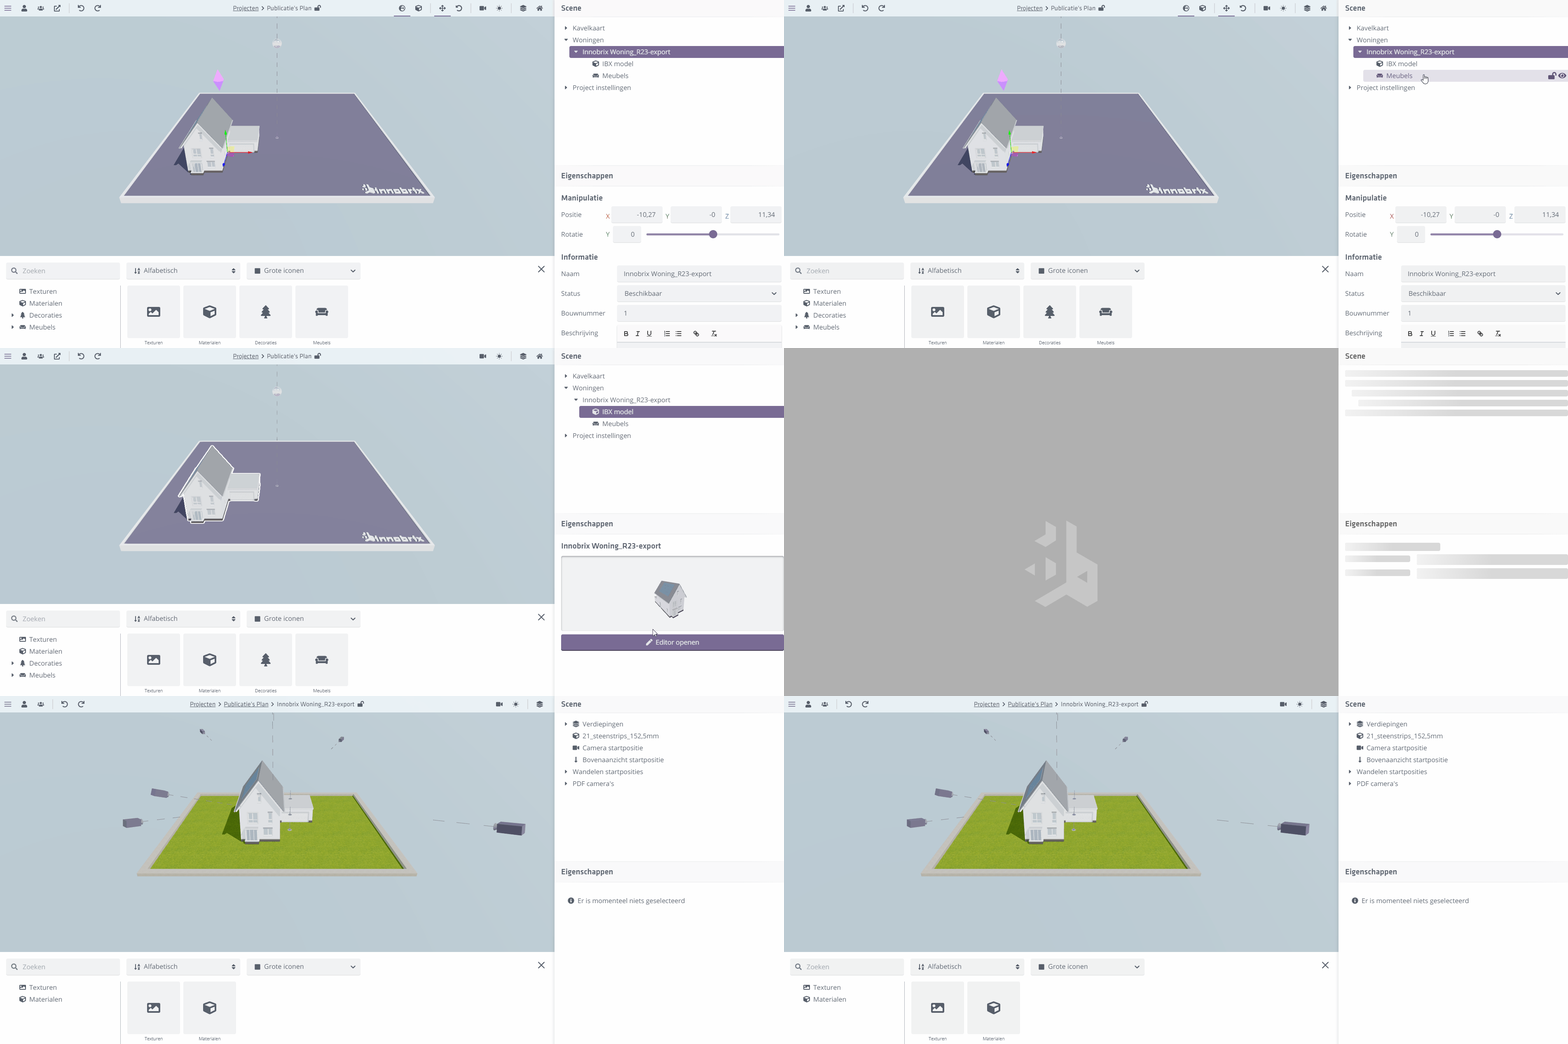
You can reach the Configurable Editor via the Scene hierarchy on the right side of the screen.

Open the Configurable Editor via the Scene hierarchy. (On the right side of the Plan Editor, click Homes --> [Model name] --> IBX Model --> Open editor.)
Uploading textures
Inside the Configurable Editor you will notice the sections Textures and Materials.
These two sections contain, as you would expect, all textures and materials available within the current project (or Library, more on that later).
The tray at the bottom of the screen is the Content Browser. If you compare the contents of Textures to Materials you will see textures are still empty.
Materials are already available after importing your IBX file because they are pulled from the model.
What we want to do now is upload one or more textures and assign them to the corresponding materials.

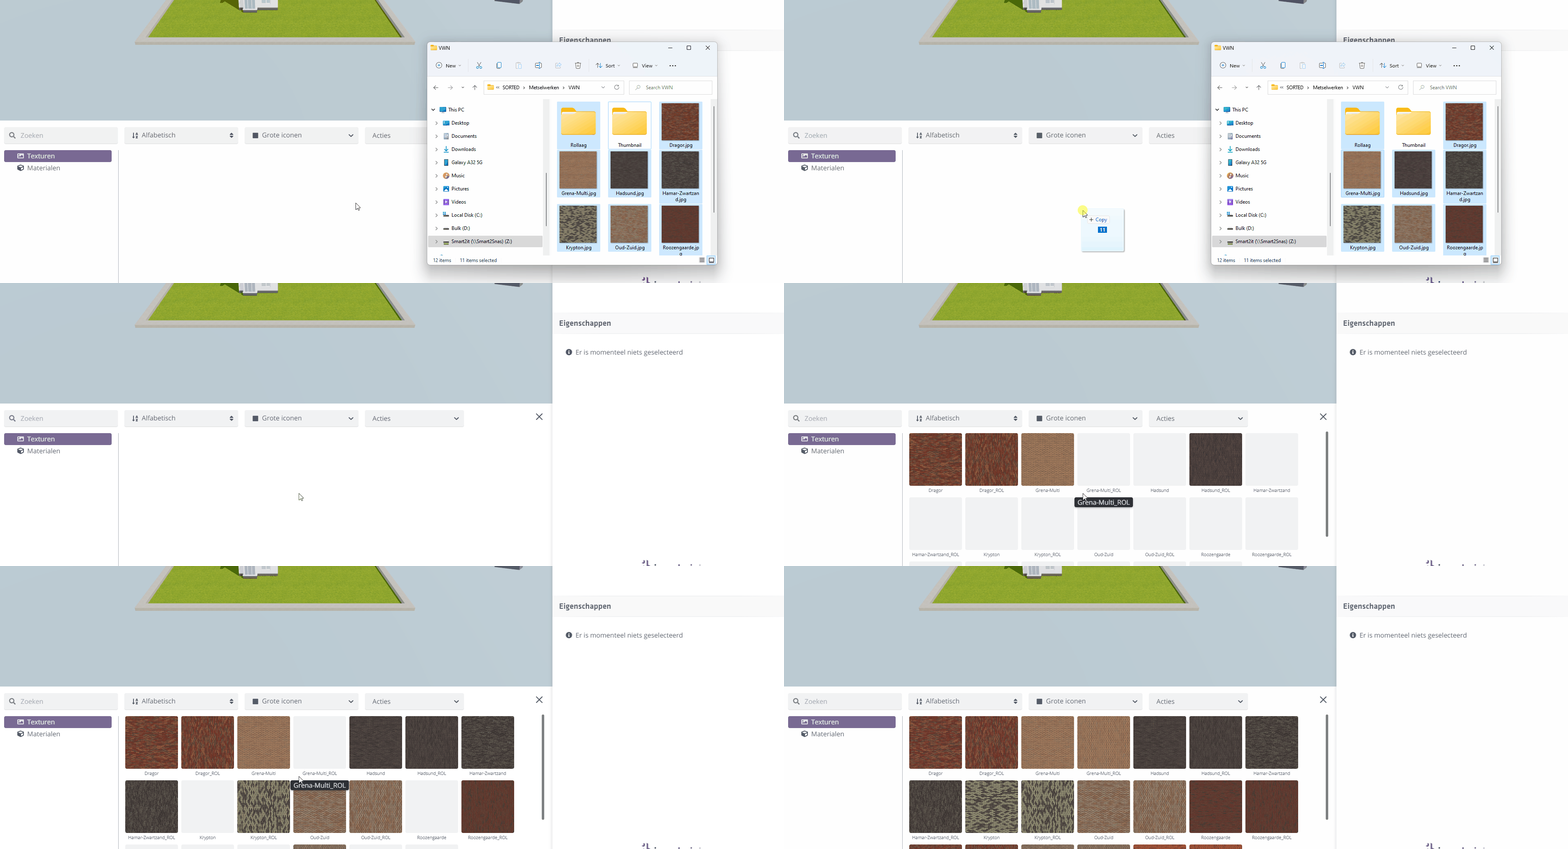
You can upload your own textures by dragging one or more textures into the Textures tab from a folder on your computer.
Make sure you have textures available for things like brickwork, roof tiles, flooring, etc. You can often download these from your suppliers. Alternatively, check our Downloads page for a Texture set that already contains several suitable textures.
Drag these textures or images from a folder on your computer into the Textures tab. After a moment the textures appear and are ready for use.
Linking textures to materials
Once textures appear in the Content Browser you can attach them to a Material. As with many aspects of Innobrix, this uses drag and drop. A texture is one of the possible Material properties.
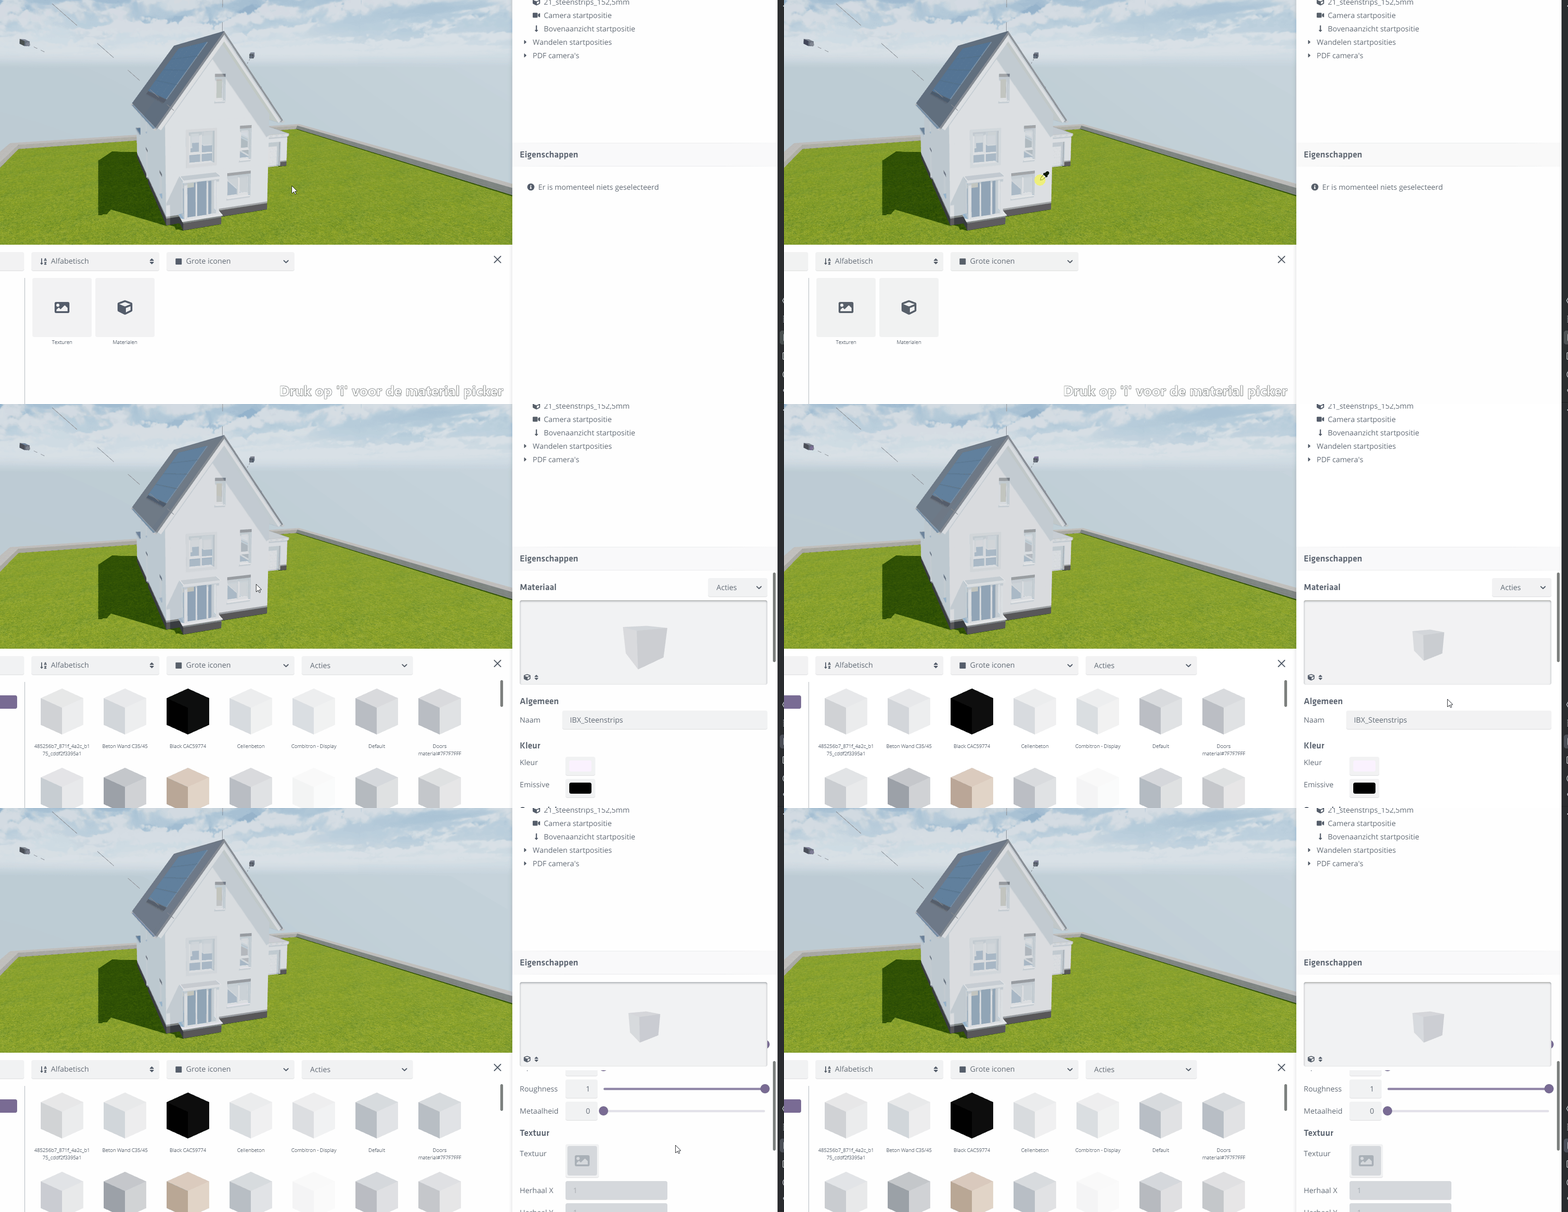
Textures linked to a material expose several properties such as Repeat X, Repeat Y, Offset X, etc.
Use the i hotkey to open the material picker so you can quickly select an element on your model and immediately see the material applied to that element.

Assign the loaded textures to materials in the Materials tab by dragging them from the Textures tab onto the Texture slot of each material.
(You do not need to do this for every material, but things like brick, roof tiles, and a floor finish are at least recommended.)
Once you are happy with the look of the home, move on to the next tutorial step.