1.1 - Getting Started in Revit
Exporting from Revit
Revit is where every configurator or publication is built. The first step is exporting from a suitable 3D view.
For a publication (or model without options) you can simply use the
Innobrix Add-in to perform an Export Without Options
action and create your first Innobrix file.
There are a few things to check before exporting. See the points below and watch the video for a clear picture.
Watch the video to get a good overview!
Use the Export Without Options button in a 3D view to create an Innobrix file. Once you have an IBX file, continue to the next article in this BIM Publisher tutorial.
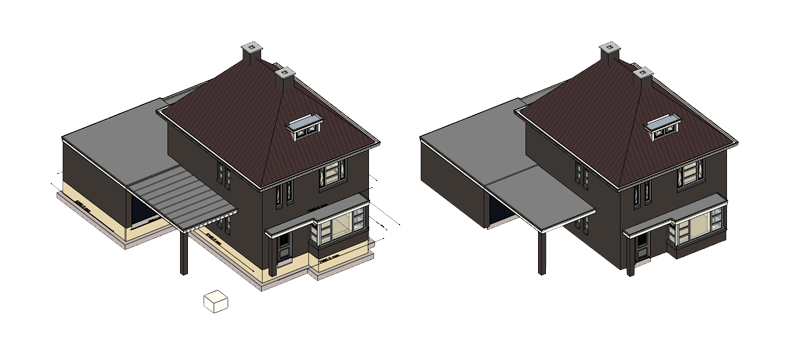
Choose a suitable 3D view
The Export Without Options button exports all geometry visible in the current 3D view. (Exporting from a 2D view like a Floor Plan will not work and shows an error.) Because the end goal is a web-based publication, consider your end users and the amount of data (MBs) they will load when they click the shared link.
It is often wise to leave out parts of your model that are not relevant to the end user. For example, you might omit parts of the foundation (like piles) because they are not visible anyway.
Leaving out unnecessary parts also positively impacts load time and performance, so it is worth reviewing. Consider creating an "Innobrix View Template" specifically for this purpose.
If you do not have a file to export or a suitable Revit license, check our Downloads page for a ready-made IBX to use.
(Choose BIM Publisher.)
Check your levels or stories
Levels marked as Building Story are exported to Innobrix.
It is wise to check your levels and decide which ones are relevant for Innobrix. Floors are used in the Floor switcher.