Model Preparation
Before you start: what do you need?
Before preparing your model, clarify your goals. Are you making a BIM Publisher or Home/Plan Configurator project? Do you have buyer options to offer, or is the model a static communication tool? For any case with options, you must use Model Groups.
Minimum needs to get your model into Innobrix:
- A 3D BIM model in Revit. If there are
Home Configuratoroptions, the model (+ options) must be built withModel Groups. - The Innobrix Add-in for Revit
- A set of textures to apply so the model looks good in Innobrix. If you lack textures, check our Downloads page for a texture set.
- A site drawing in
.png,.jpg, or.svg.
If you plan a new-build project with buyer options or a detailed home concept in Innobrix, you also need:
- An option list. Create it in Innobrix or upload via
.CSV. See Downloads for a sample/template CSV.
From Innobrix add-in version 2.0.0+, the Innobrix: Floor parameter is no longer required. If you still use the old method, you must model per floor to view the home interior correctly.
Revit Levels
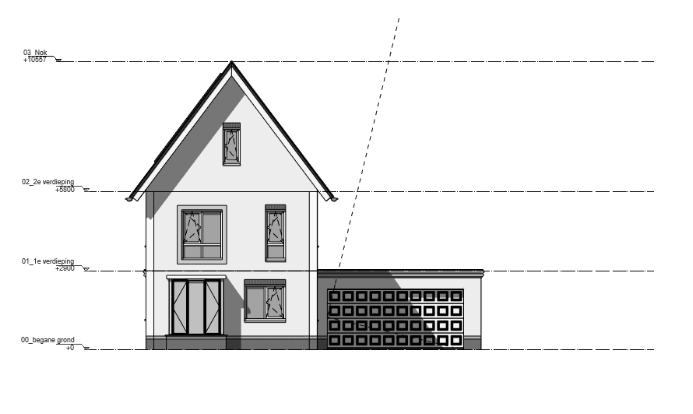
To enable the Floor Switcher in Innobrix, all Levels in the Revit document marked as Building Story are exported. Levels not marked as Building Story are not exported.

Innobrix uses Revit levels to determine heights for the Floor Switcher to slice the home for interior views. Since exporting all levels is not always desired, you can now create or hide floors directly in Innobrix.