Material and Texture Library
Materials and Textures
All (geometric) elements exported from Revit to Innobrix through a .IBX file
contain a property called Material. A Material provides the 3D visualisation of that element within the Innobrix environment.
All materials present on your model are available across the whole Library into which you import the model.
So if you reuse a material such as g2_masonry more often across different models but use project- or plan-specific
textures it is wise to resolve this via a Functional option in the form of a Material Swap.
Materials
For example, a Wall element in Revit may contain the material called g2_masonry. Or, when there is no explicitly assigned
material is assigned to a particular element, this material falls back to a (generic) System Family material. Often
you will then also see this reflected in the designation such as Generic Models Material #7F7F7FF or something along these lines.
Properties of a Material
A material in Innobrix contains a number of properties, namely:
Name
— Name of the material.Colour
— Basic colour of the materialEmissive
— Secondary colour of the material used to 'emit' a colour. Please note this does not mean the material will emit light.
Two-sided
— Turn it on to show a material on two sides. You can use it as a 'quick fix' when you have an issue like the image below.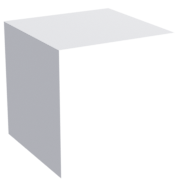
Transparent
— Is the material transparent (like glass, for example)?Alpha Test
— The point at which a material with an alpha channel is seen as transparent/opaque.Opacity
— The degree of transparency of the material. 0 is completely transparent, 1 is completely opaque.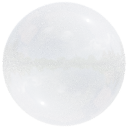
Roughness
— The value representing the roughness of a material. 0 is very rough, 1 is smooth like a billiards ballMetallicity
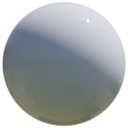
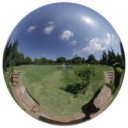
— The value that gives the material a metallic reflective effect.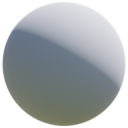
Texture
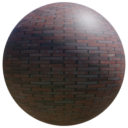
— The texture applied to the selected materialRepeat X, Y
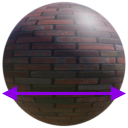
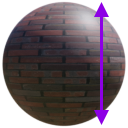
— The amount of times a texture is displayed over 1 meter on the X- and/or Y-axes.Translate X, Y
— Moving the texture over the X- and/or Y-axes (horizontal and vertical movement).Angle
— The rotation of the texture (in degrees).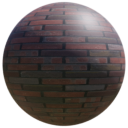
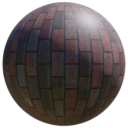
A Texture is thus a property of a material. A Material can be shown without a texture, but a texture can never be shown without a
parent material.
Creating a Material
Besides adding materials from a .IBX file, users can also manually add materials in the material library.
Materials added manually are mainly used in a material switch.
By uploading an image within the material library, you manually add a material. With your left mouse button the image from your computer to the content browser, category: "materials". The name assigned to the image on your computer is automatically transferred to the material library.

The texture associated with the added material is automatically added to the texture library.
Textures
From the Textures heading in the Material properties panel, you can actually speak of Texture properties.
Textures are intended to make your model visually attractive for the visitor to your configurator. However, not all images you find (online)
however, are always suitable as textures.
Textures are not included from Revit when they are already linked to a material in Revit. The reason for this is that the resolution of the textures used by Revit is too small to be visually appealing.
Texture specifications
What should a good texture comply with?
- As a rule, a texture should not be larger than
1024 px*1024 px. Although larger textures are in principle accepted by the system, these sizes are not recommended because it can have a significant impact on the loading time of a project or plan. - A texture smaller or equal to file size of 1 mb.
- A
.jpgor.jpegfile is preferred, unless transparency is present within the texture. Then a.pngis necessary. In the vast majority majority of cases, however, you will use a.jpg. Other formats such as.avif,.pdf,.bmpare not supported. - A good texture is 'seamless'. This means that when the texture repeats, there are no distinct edges or seams visible.
Assign texture to a material
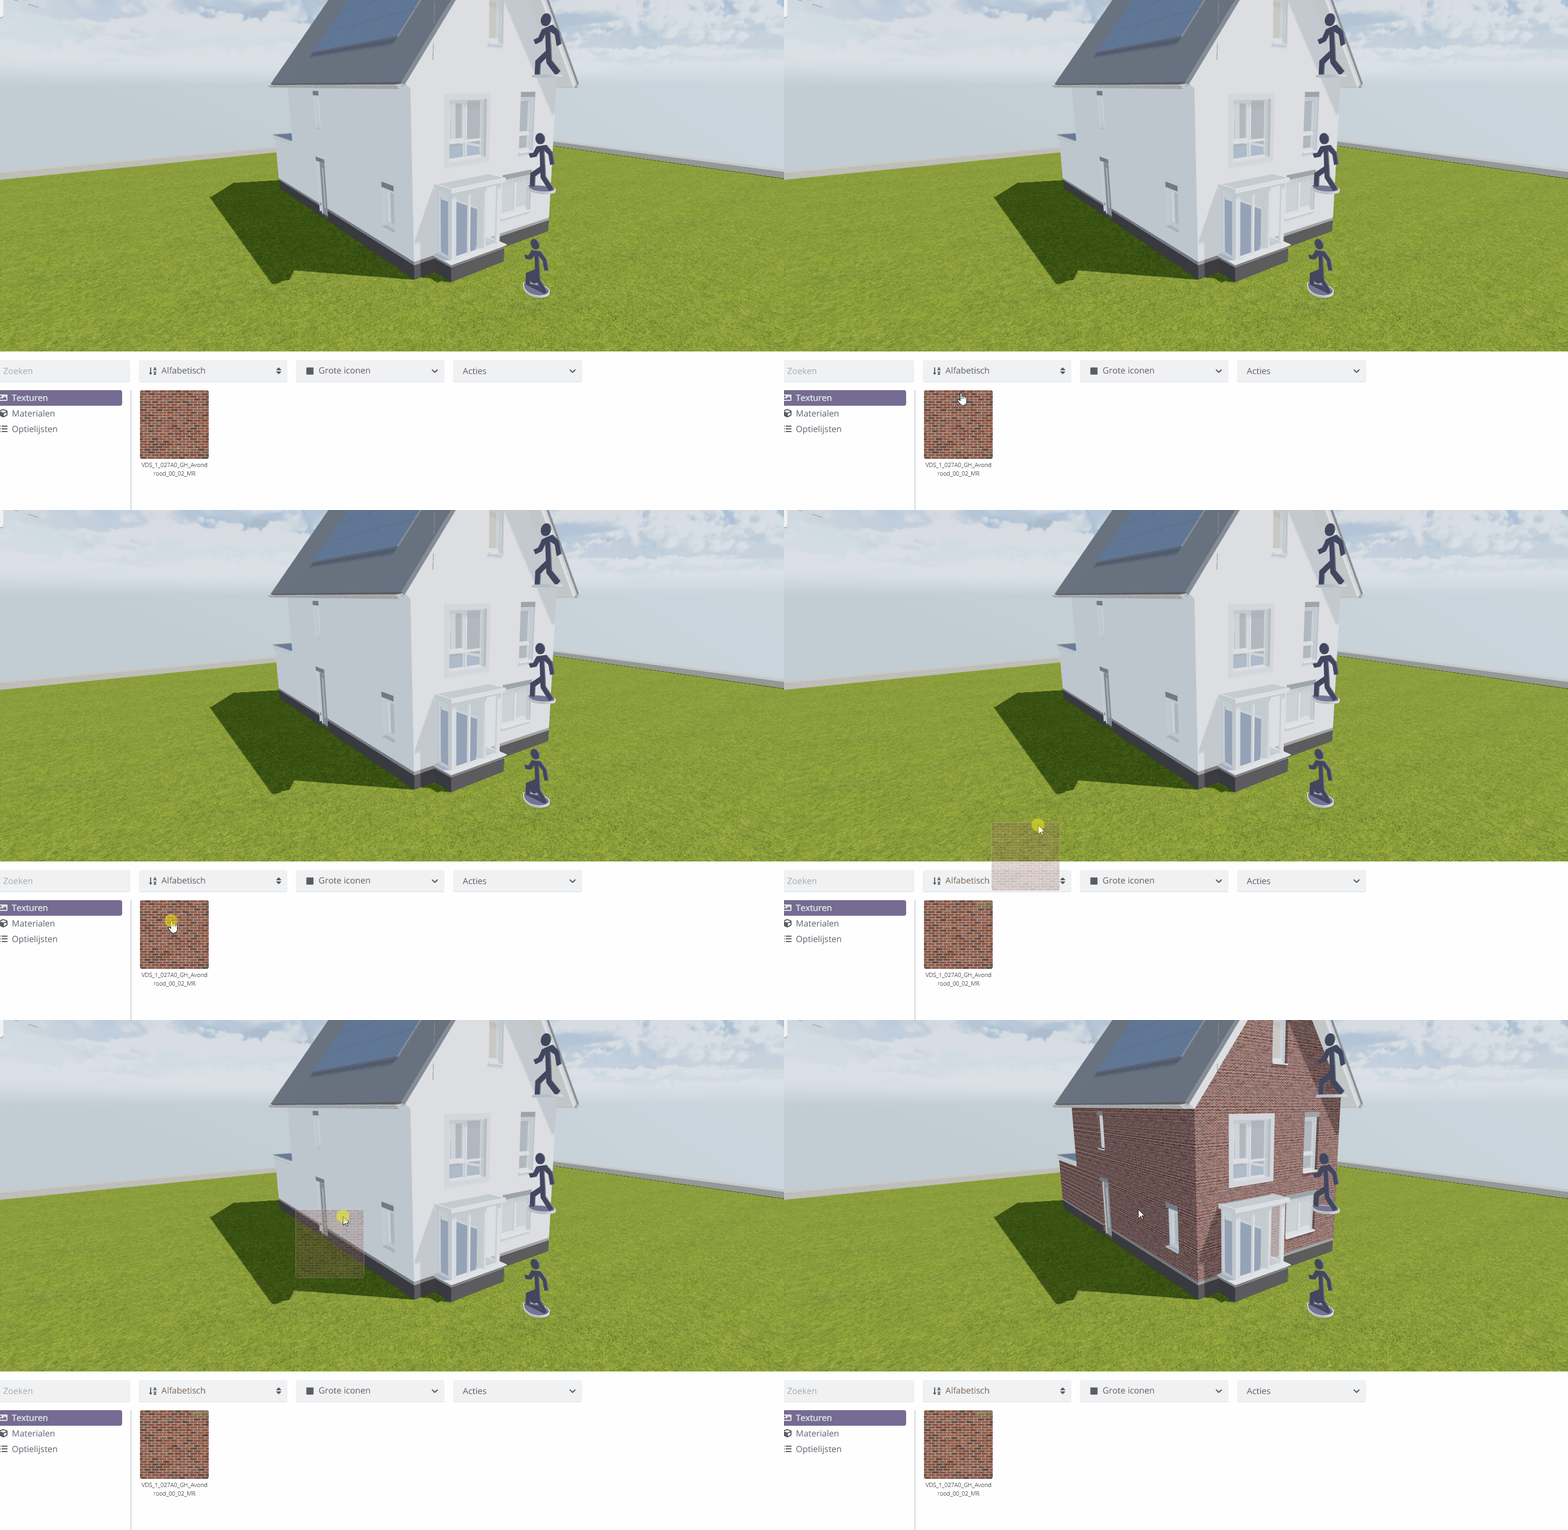
Textures that are loaded can be linked to materials in the material library. By linking a texture to a material, the textures are displayed on the estate and can later be used in a material switch.
To do this, open the texture library again in the Content Browser of your Configurable-Editor.
Drag the desired texture from the texture library onto the part of the model you wish to assign the texture to. Release the left mouse button to apply.
