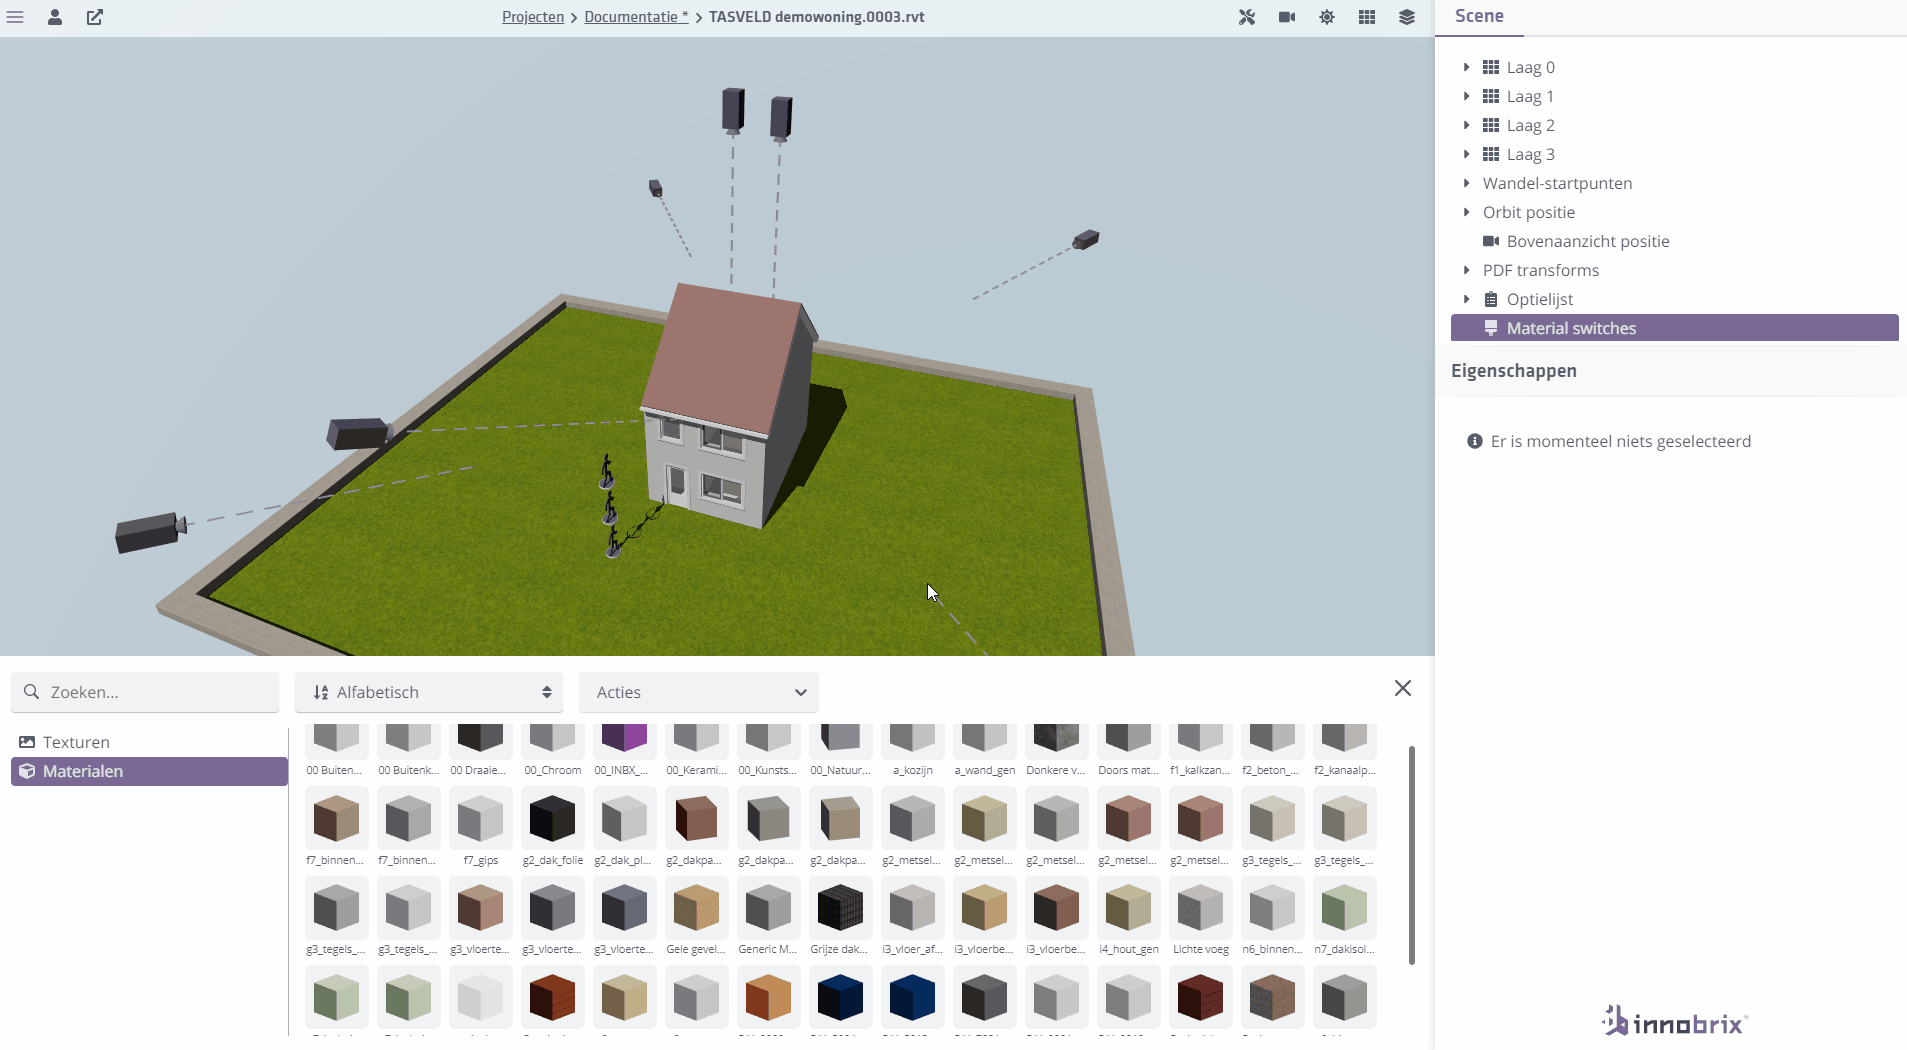
Material switches
What are material switches?
The material switch is functionality that allows materials to be exchanged using options from
the option list. The end user can use options in the viewer to change the appearance of a property
modify the appearance of a property without the need for additional groups in the bag field. In this way, the bag field is kept as compact as possible.
In addition, material changes are also commonly used for Functional options to, for example, call a property (or) project-specific
materials to be invoked when a basic material is reused more often or several models.
What do you need for a material switch?
There are 4 things you need to set up a material swap, namely:
- A model in a Library
- An option list with a number of options
- A source material
- A target material
What are source and target materials?
A source material can be defined as: the material you want to exchange for another material.
A target material can be defined as: the material with which the source material is going to be exchanged.
g2_metselwerk
g2_metselwerk_blauw
A source material is exchanged on the elements for a target material when a certain option is chosen.
Should you find that when setting a material swap, some elements unintentionally change material with it, it is wise to inspect the elements within Revit and, if necessary, adjust the material on that element.
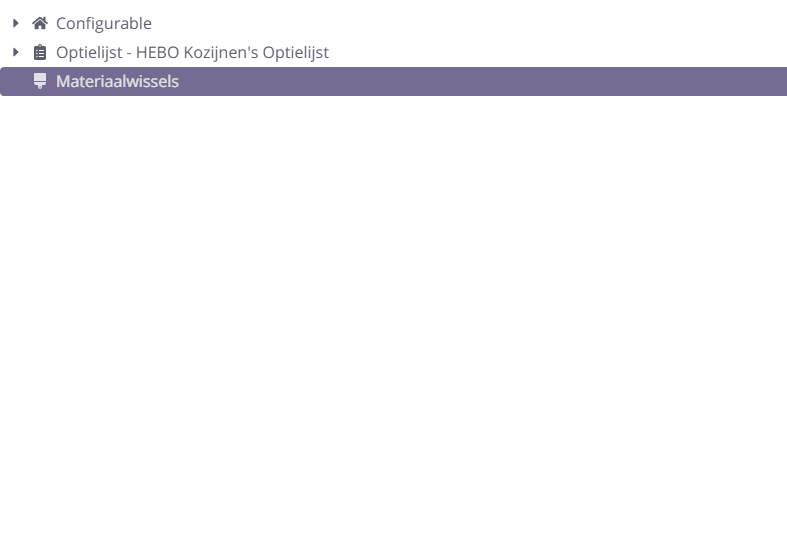
Setting up a material switch
Setting a material change is always done within the Configurable-Editor of a model.
Define a base material
- Go to the
Configurable-Editor of a model. - Create a number of options in the options list. Usually you want to use options of type
Thumbnailfor this. For convenience, put them under one header. - From the
Materialstab in theContent Browser, choose theSourcematerial you want to share. Then drag it onto theMaterial switchesheader.
The name of the source material is now visible under Material switches.
Connect options and target materials
- Click the name of your
targetmaterial underMaterial switchesand make sure thetypeswitch is always set toFull. - Drag the direct parent header of the previously created options from the options list directly onto your
sourcematerial shown underMaterial switches. The options located under the header will be created under theMaterialswitch set. - Drag a
targetmaterial from theMaterialstab into the material drop zone of thetargetmaterial field. Don't have agoalmaterial yet? Then create one (or more)!
If all went well, you now have a (first) material switch set up.
source materialTo switch back to a source material, you don't necessarily need to keep your own material switch. For this, a simple option is basically
sufficient (such as 'basic masonry'). Since this option can be chosen and no switch is set, the material will automatically fall back
to the source material.
Exporting & Importing a material switch
It is possible to export an already implemented material switch and then import it into another Configurable using a CSV export/import operation.
Exporting a material switch CSV file.
- Go to the
Configurablewhere you want to (re)use the material switches and open theConfigurable Editor. Then use the context menu via the right mouse button on‘Material switches’to select‘Download as CSV’.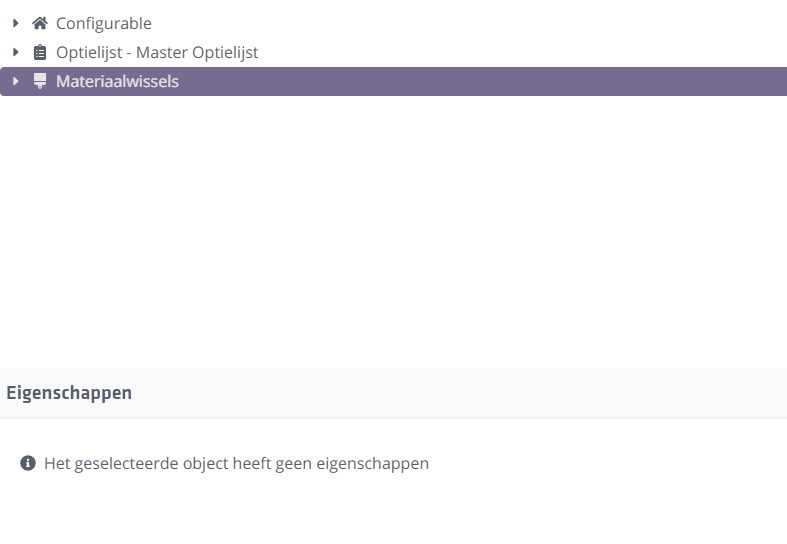
Importing a material switch CSV file.
- Go to the
Configurable Editorof theConfigurablewhere you want to apply the material switches. Now use the context menu via the right mouse button on‘Material switches’to select‘Update via CSV’. Navigate to the location of the CSV file containing the material switches and select it. Finally, click on ‘Open’. The system will now attempt to set up the material switches.
Important notes
The material switch import function attempts to set up the switches as completely as possible, but requires three components for optimal results.
- The source material, or a material with the exact name of the original source material.
- The target material, or a material with the exact name of the original target material.
- Corresponding option codes. The link attempts to map based on option codes (not option names).
If one or more components are missing from the target file, you can still specify these missing components manually.