Option focus
What does the term Option Focus mean?
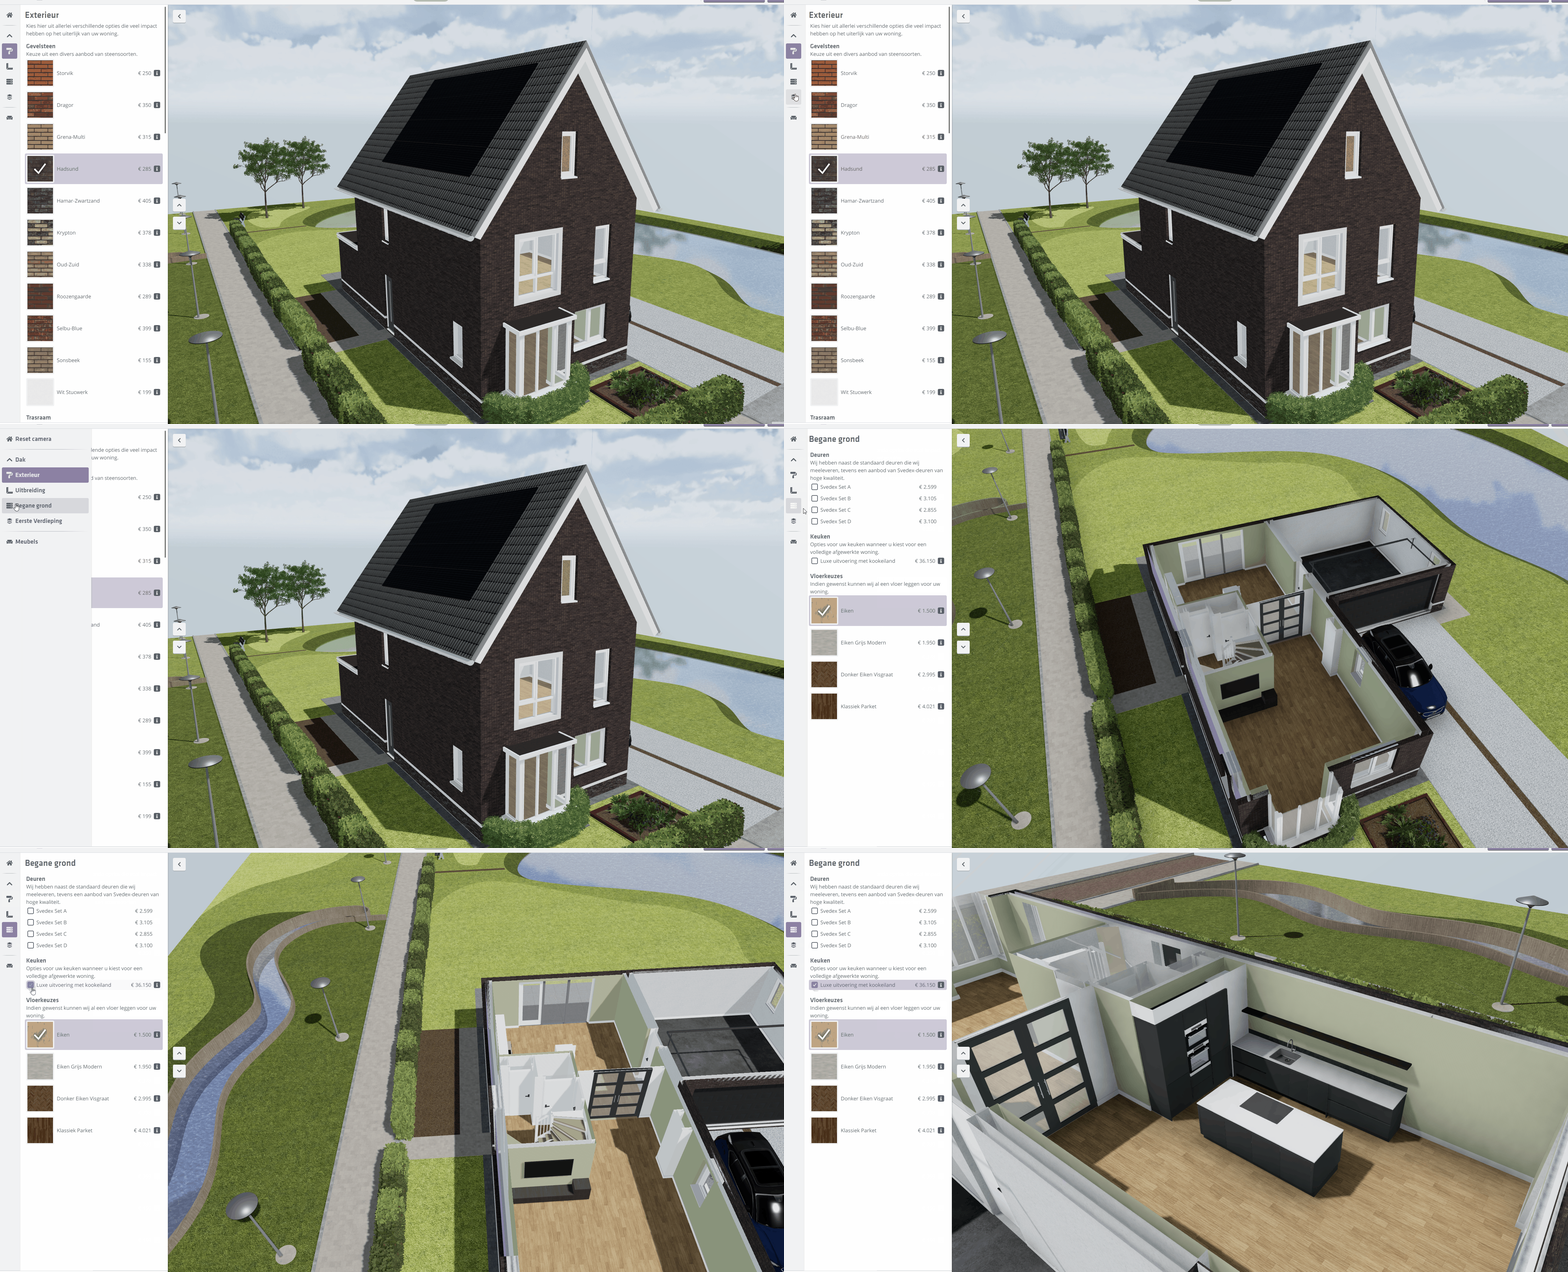
The Option Focus is a feature that allows you to 'guide' the buyer or visitor to the option
he or she selects in the option list. This is done via a camera animation that moves the buyer to a self
set camera angle. In the process, it is also possible to switch the floor switcher to a specific floor.
In this way, you make the options you offer more transparent.

Setting an 'Option-Focus'
Setting the camera positions belonging to the Option-Focus can be set within the Configurable-Editor of a model where it is possible to set specific camera positions for Categories, Headers and (separate) Options.
Here it is important to note that a 'priority' exists when an option-focus is applied to a category and underlying header or option.
The priority is as follows:
1. Option
2. Header
3. Category
If no Option Focus is set on or within a category, the camera will also not jump for the end user. Then the current camera position will remain in use.
Example
A concrete example of this is if, for example, you apply an Option Focus to the category 'Build-out' under which
a header called 'Rear Facade' with finally 3 options:
- Extension 1200mm
- Extension 2400mm
- Frame in side wall extension 2400mm
So when you apply an Option Focus to the Extensions category you will probably choose a camera viewpoint that mainly has the rear facade in view. But for the option 'Frame in side wall extension 2400mm' you can apply an Option-Focus where the point of view of your camera focuses specifically on the side wall of the house.
Step-by-step plan to set an Option Focus
1. Go to the Configurable-Editor of the model where you want to apply this feature.
2. Open your model's option list and click on a Category, Header or
Option whose camera position you want to start setting.
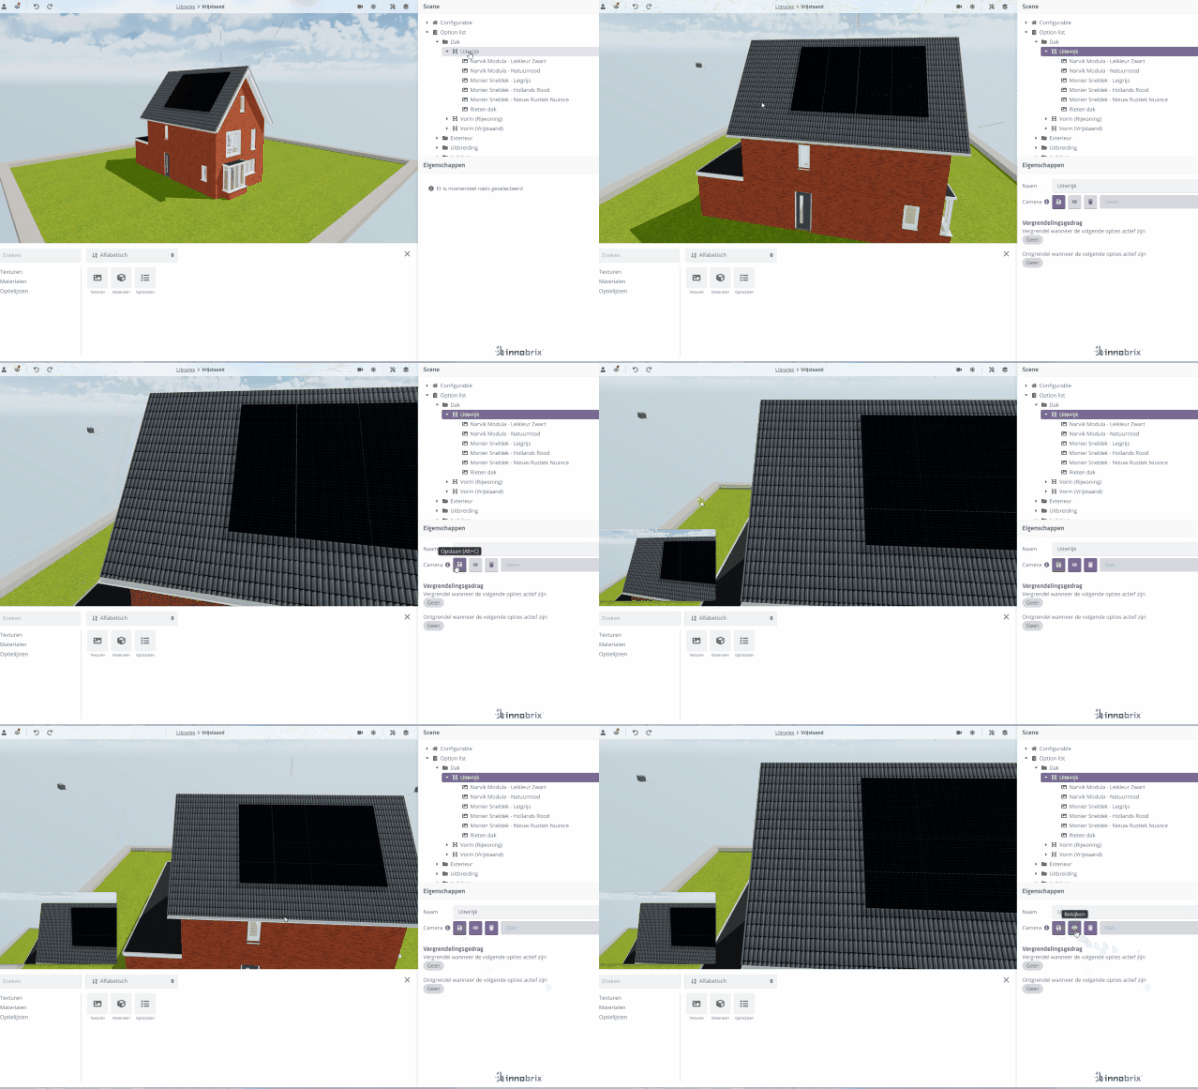
Under the Camera property of the selected category, header or option, you will see the following buttons:
.
From left to right:
- Information icon: briefly explains what this function does
- Disk icon: Save the current camera viewpoint for the currently selected option list element
- Eye icon: animate the Option Focus preview and move to the saved viewpoint
- Discard: Delete the (saved) Option Focus for the currently selected option list element
- Floor: Indicates (up to) which floor is shown in the Floor changer
3. Collapse your model (if you haven't already) and position yourself so that the part of the
model you want to show.
It is possible to simultaneously use the floor changer during this process. The selected floor layer will then be included in camera viewpoints set in a moment.
4. Click the Diskette icon to save the position.
If no Focus option has yet been set, a camera preview will now appear in the bottom left-hand corner of the screen, showing the position.
position into view.

Optional: choose another viewpoint in the editor and click on the Eye icon to preview the transition to the viewpoint to preview it. Should you not be satisfied with a point of view you can always re set it via the Diskette icon, or delete it in its entirety via the Trash icon.