Configurables - GLB
This article is for users who prepared their optioned model in an external 3D package with GLB support (such as SketchUp, Blender, 3ds Max, etc.).
Configurables based on a GLB file
Innobrix lets you create configurable models (Configurables) based on GLB files. GLB files are 3D formats particularly suited for web use, such as Innobrix. GLB is the binary form of glTF, an open standard for 3D scenes and models.
It is developed by the Khronos Group and optimized for efficiently transferring and loading 3D models, especially in web applications. glTF files can be stored in JSON (.gltf) or binary (.glb) format and can include external resources such as textures. In Innobrix only the binary variant, GLB, is supported. Textures inside GLB files are supported. Export support for glTF varies per modeling app; check with your software vendor or documentation.
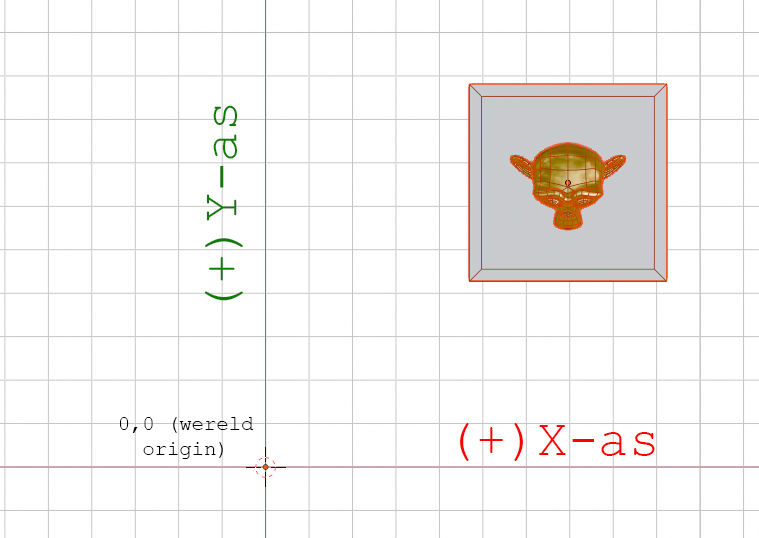
The glTF specification assumes units in meters. It uses a right-handed coordinate system where the Z axis usually points up.
Origins
All 3D models imported from GLB are placed in world space. Keep the GLB you create as close to the world origin as possible. Ensure the model is not far from the origin.
Implementing options
Depending on the configurator and options, a single GLB may contain one or multiple mesh components. In all cases you export multiple GLB files where the options you want to offer are positioned identically�essentially on top of each other. Most 3D packages let you control element visibility; use this to stay organized.
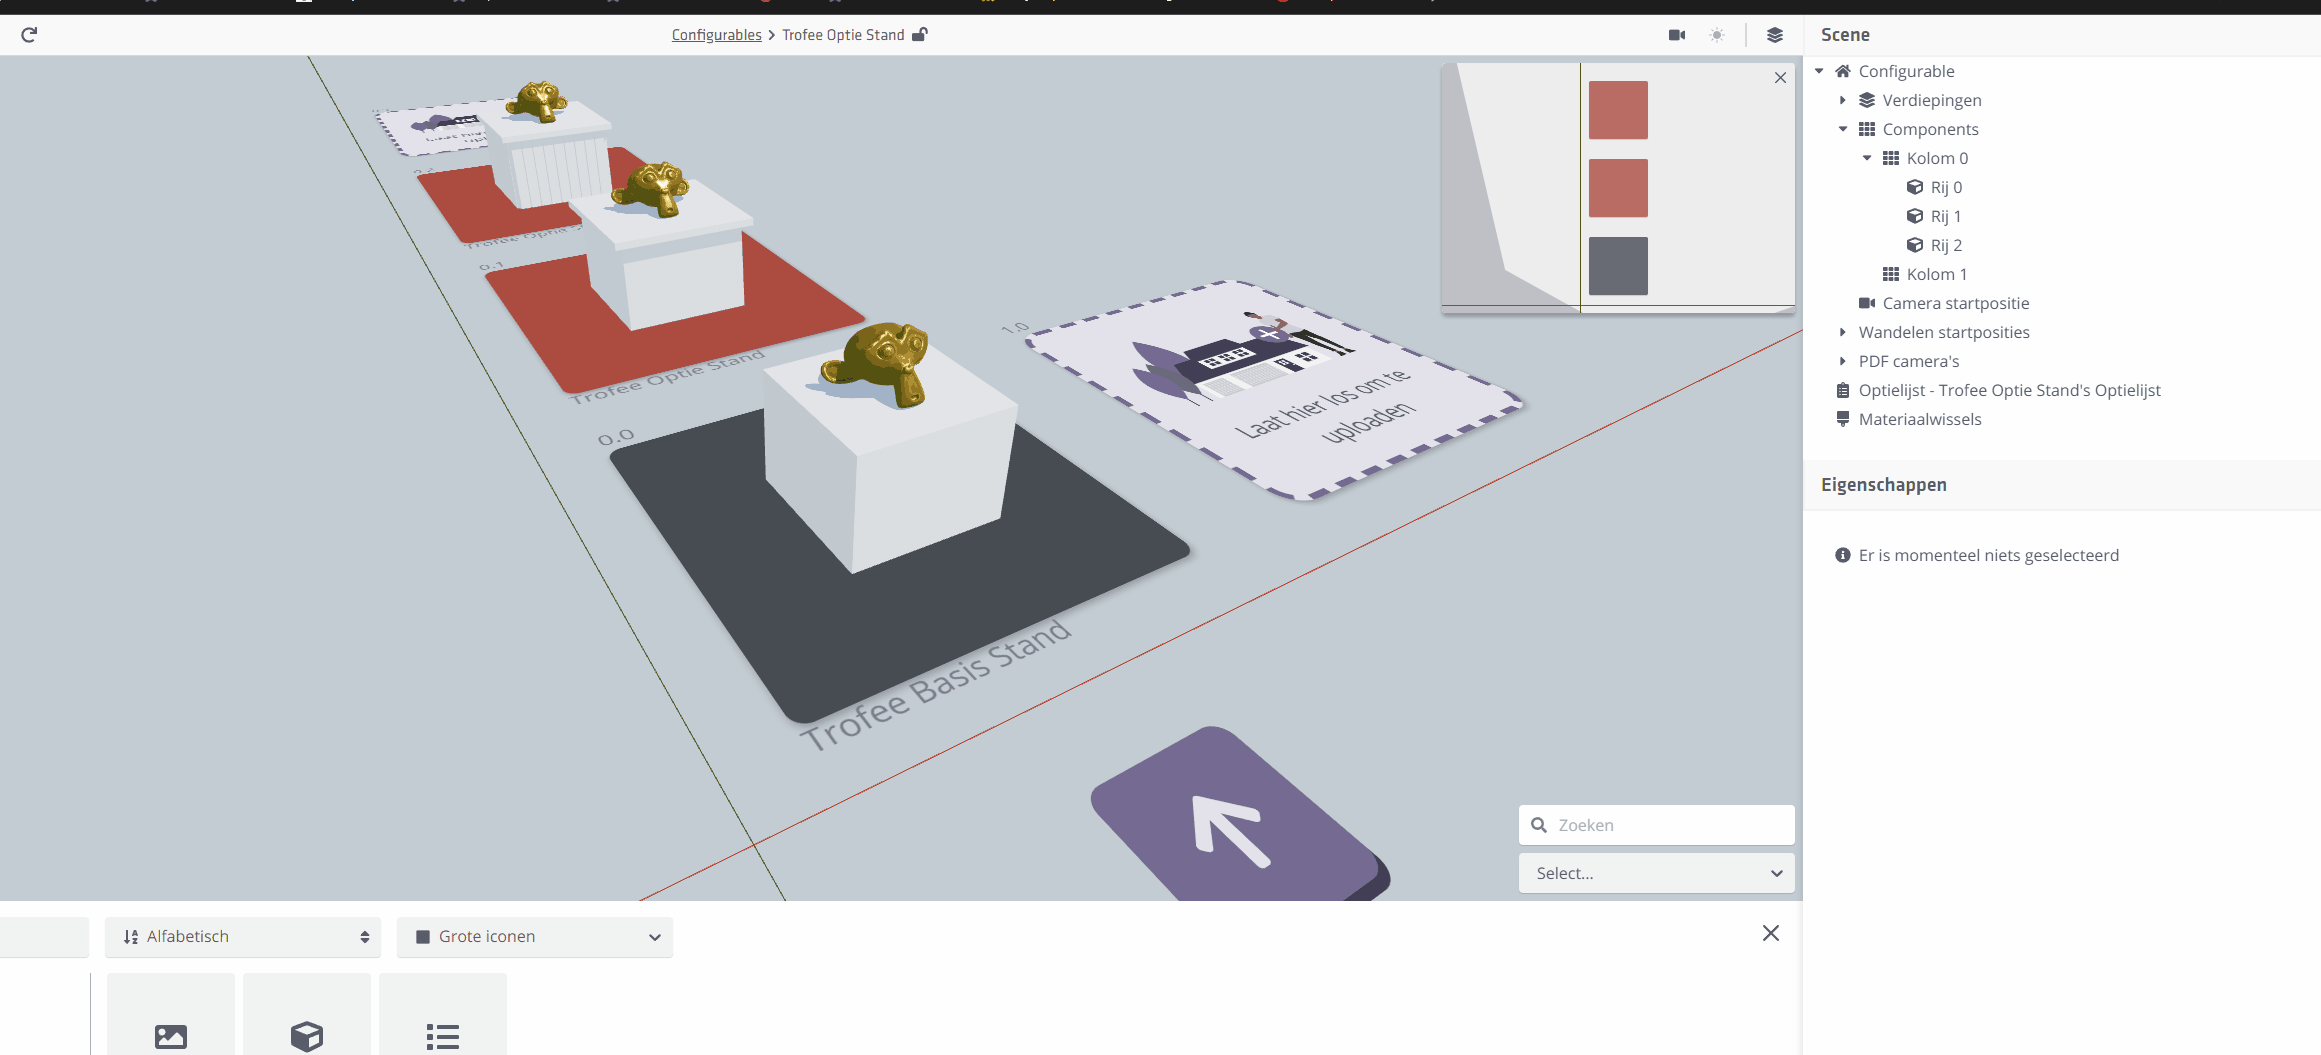
Uploading GLB files (with options)
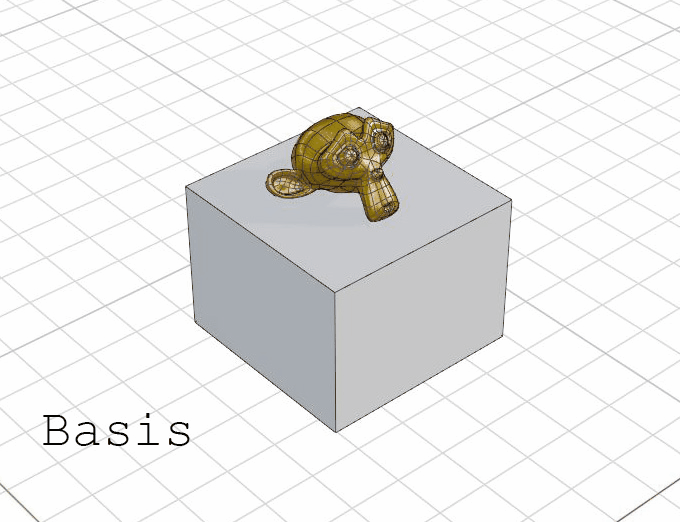
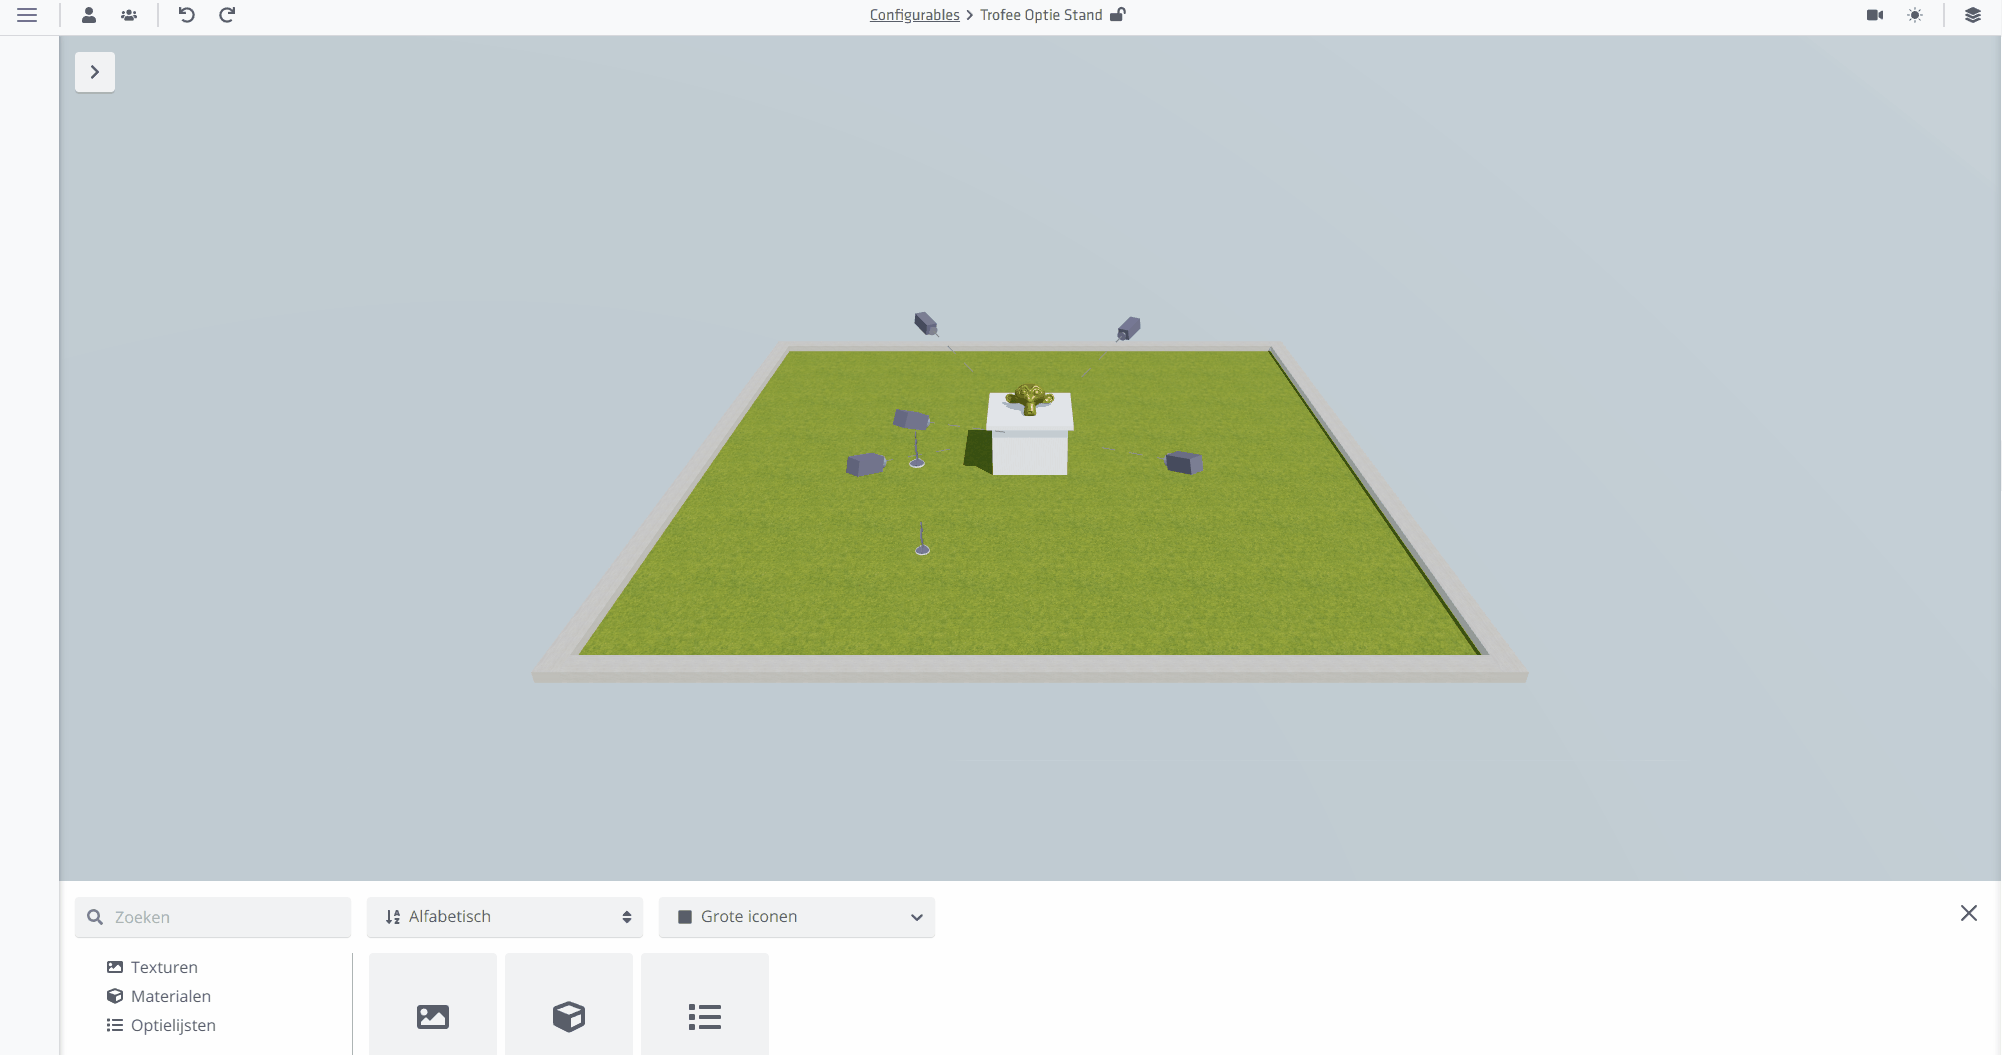
The figure above shows three option possibilities for this trophy stand:
- Base: a simple cube stand. (1 GLB file)
- Option 1: a simple cube with a top profile. (1 GLB file)
- Option 2: a simple cube with exterior slats and a top profile. (1 GLB file)
In this example we export three GLB files.
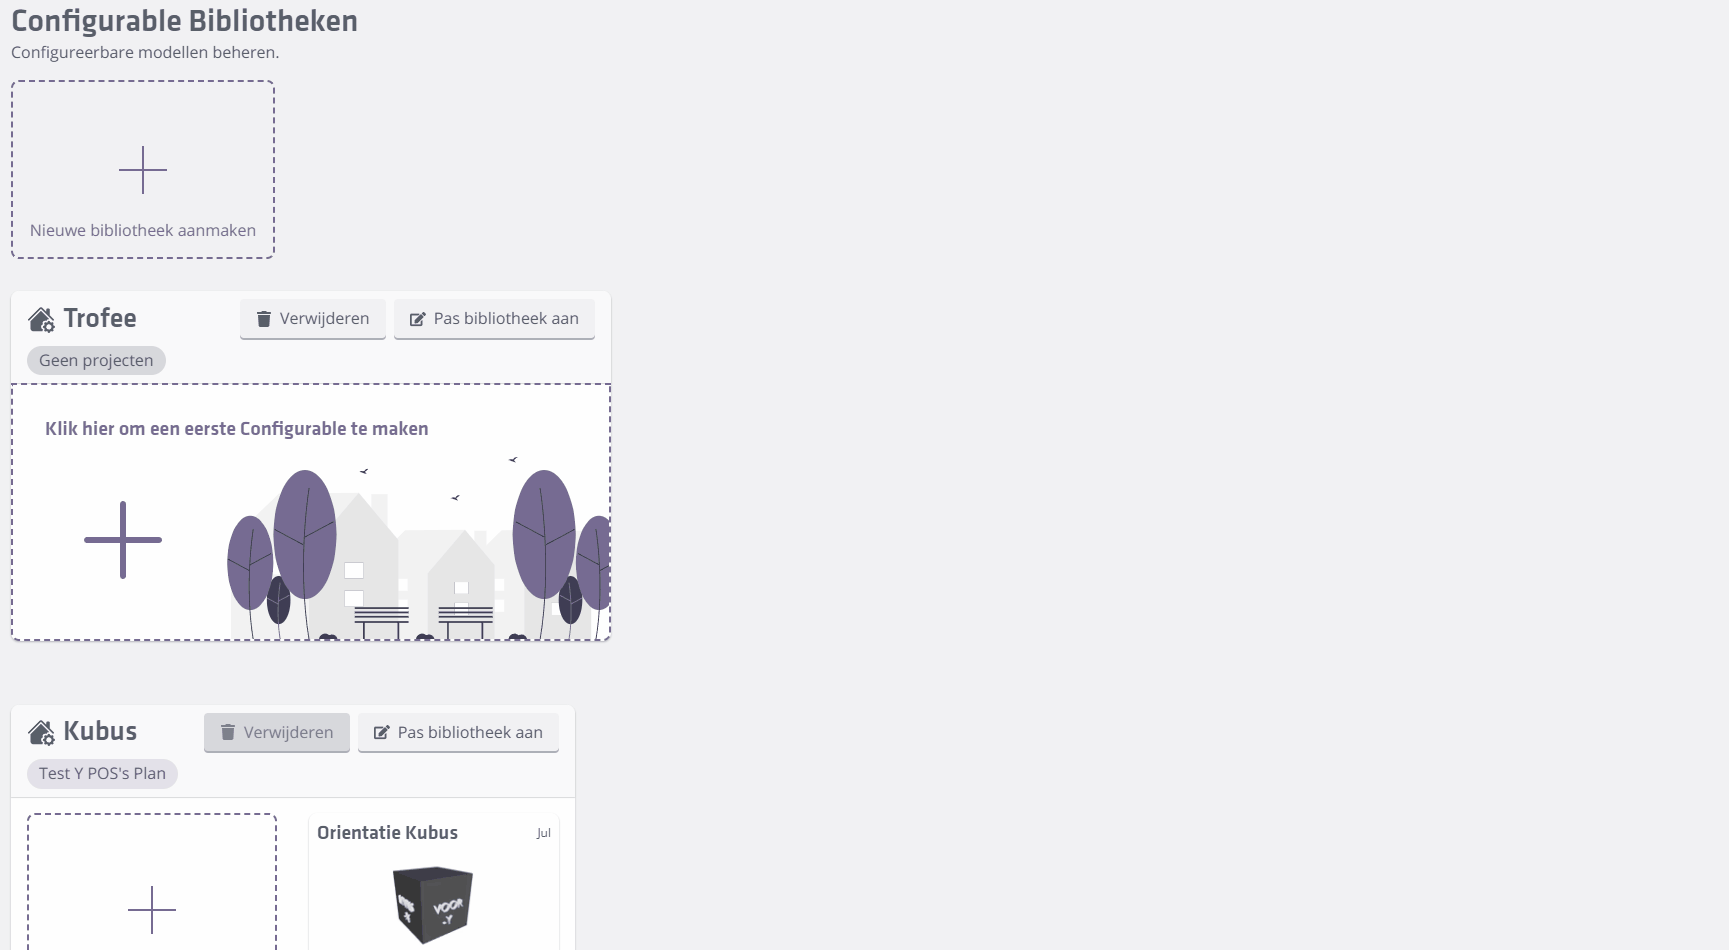
Upload these GLB files to a new or existing Configurables library.
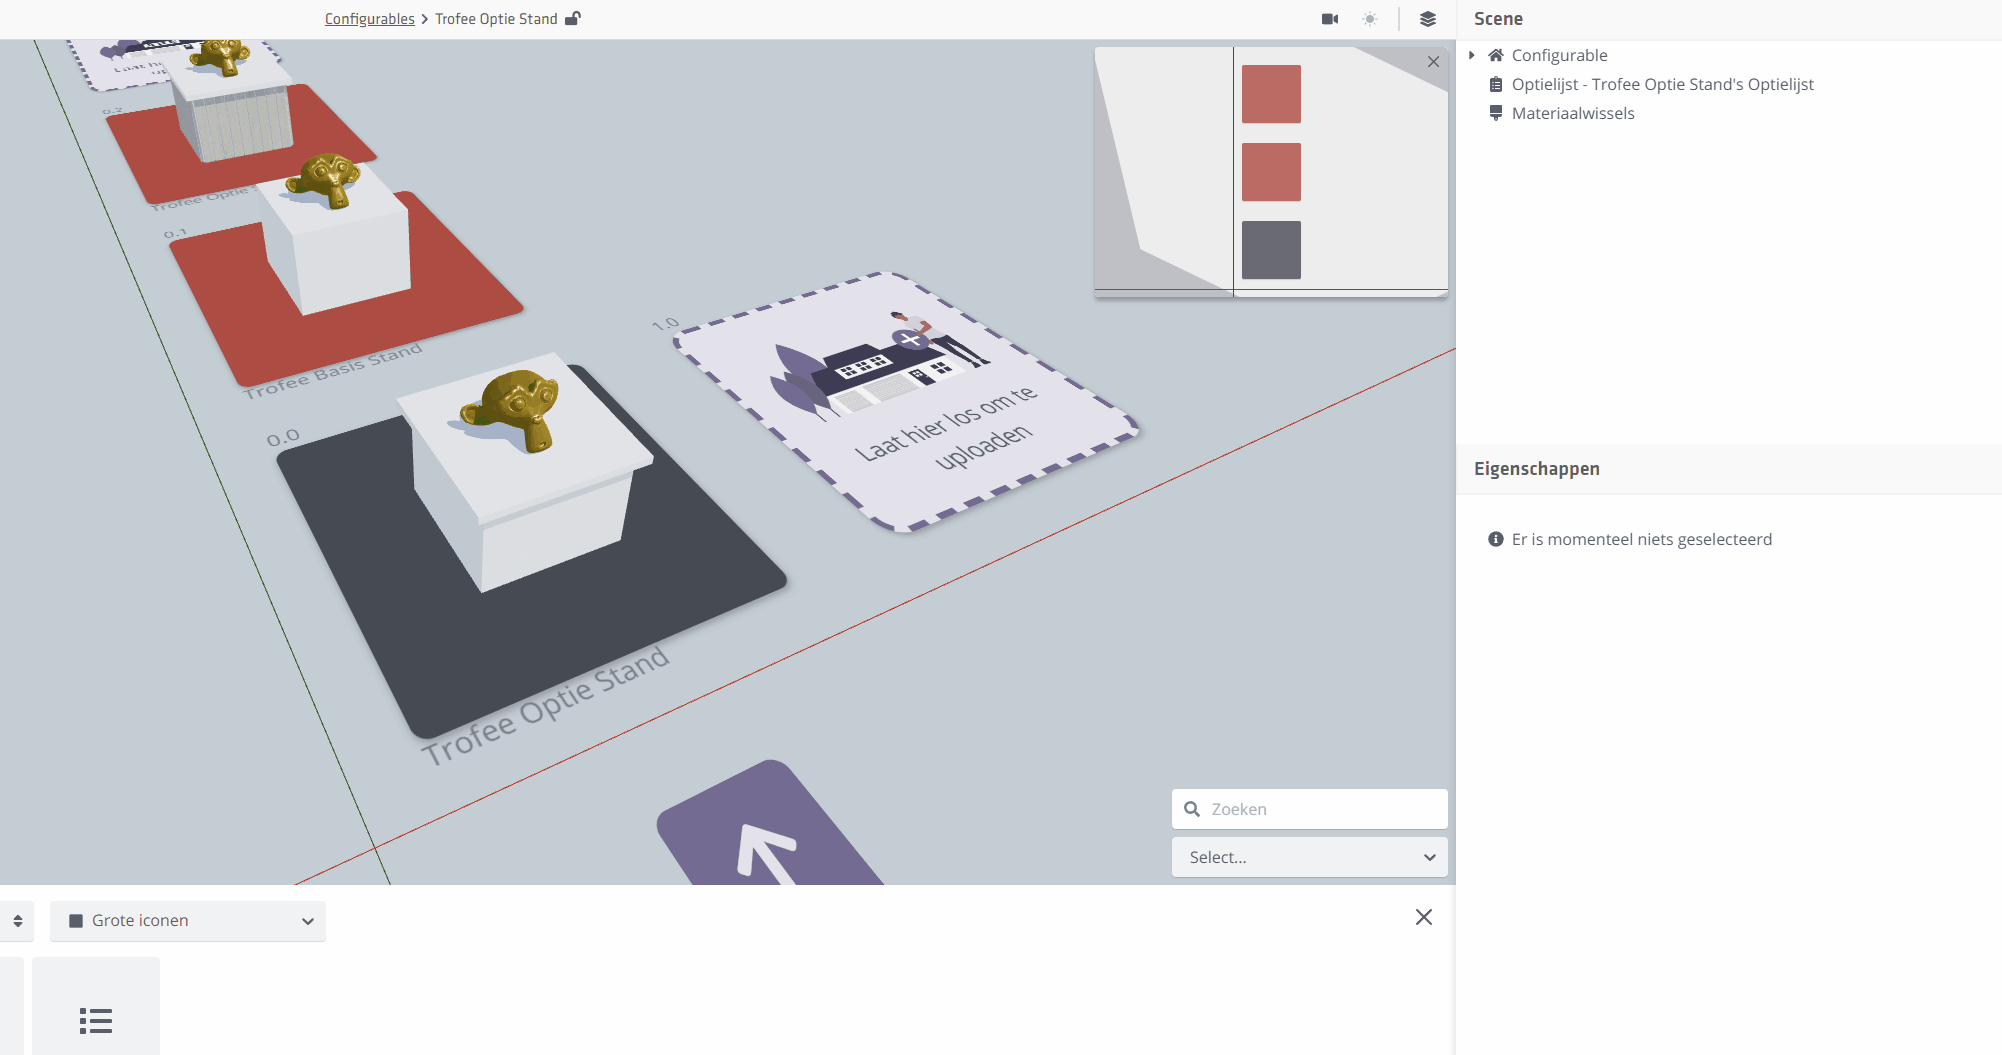
Columns and rows
After creating a Configurable, click its thumbnail to open the Configurable Editor. Here you create options and link them to the uploaded GLBs. In the View menu you can show a model in collapsed or expanded form. The collapsed view initially shows the configuration with the BASE groups active.
Innobrix uses a column/row system for options. A column contains one or more rows. Each row contains a model component linked to an option. Through an Option List Innobrix can swap rows based on an option linked to that row.
The key point: there can only ever be one active row per column.

The BASE groups/cells indicate components that form the starting point of the configuration. These are typically in row 0, regardless of column. These groups are always on unless an option activates another row; then the BASE group is switched off.
The OPTION groups/cells indicate possible variations/options of the element in the BASE group. When a user selects an option, the BASE group is swapped for the option group.
If an option is already active when another option is chosen, the group that best matches the conditions is shown. For example, if a column has two rows: one linked only to "option A" and another linked to "option A" and "option B", selecting "option A" will show the first group, not the second, even though it also contains "option A".
For more details about option links and dependencies, click here.
The RED groups indicate either an error in the option link or that no option is linked yet.
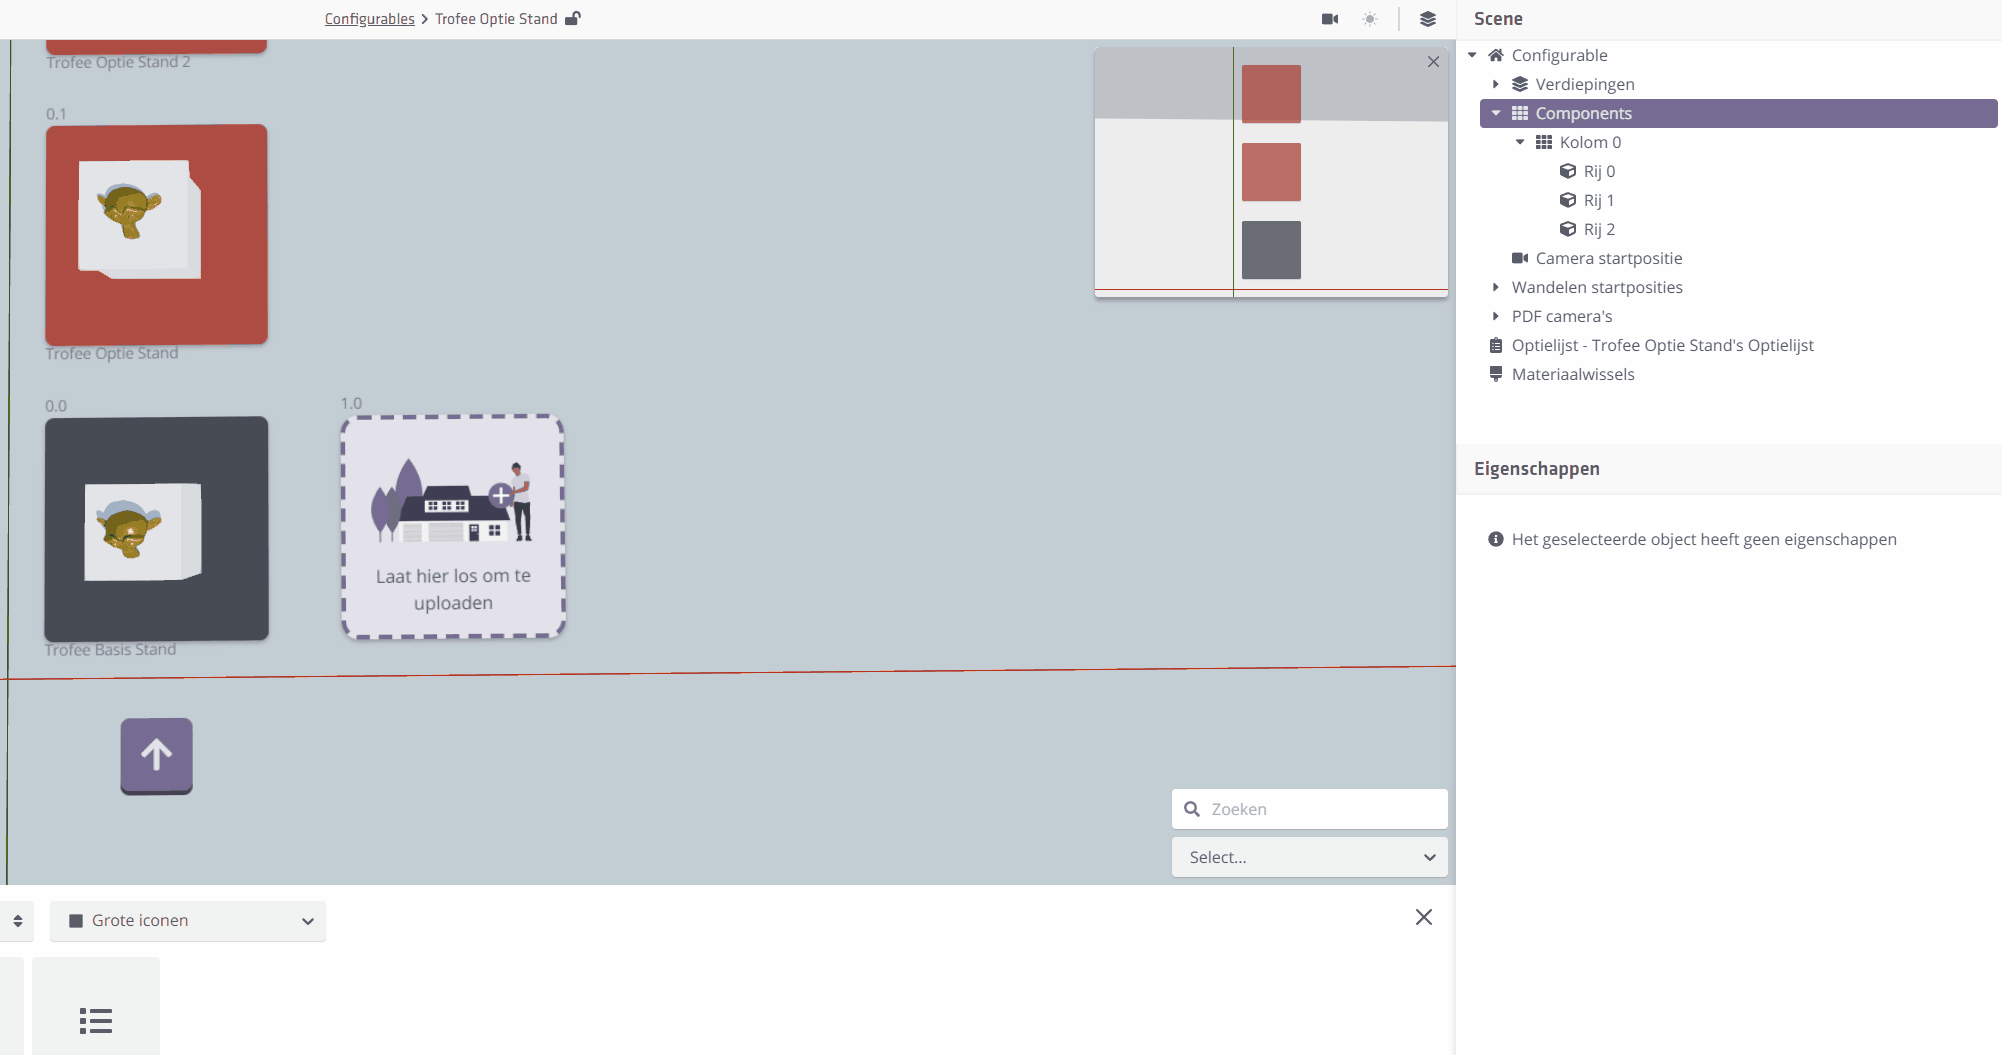
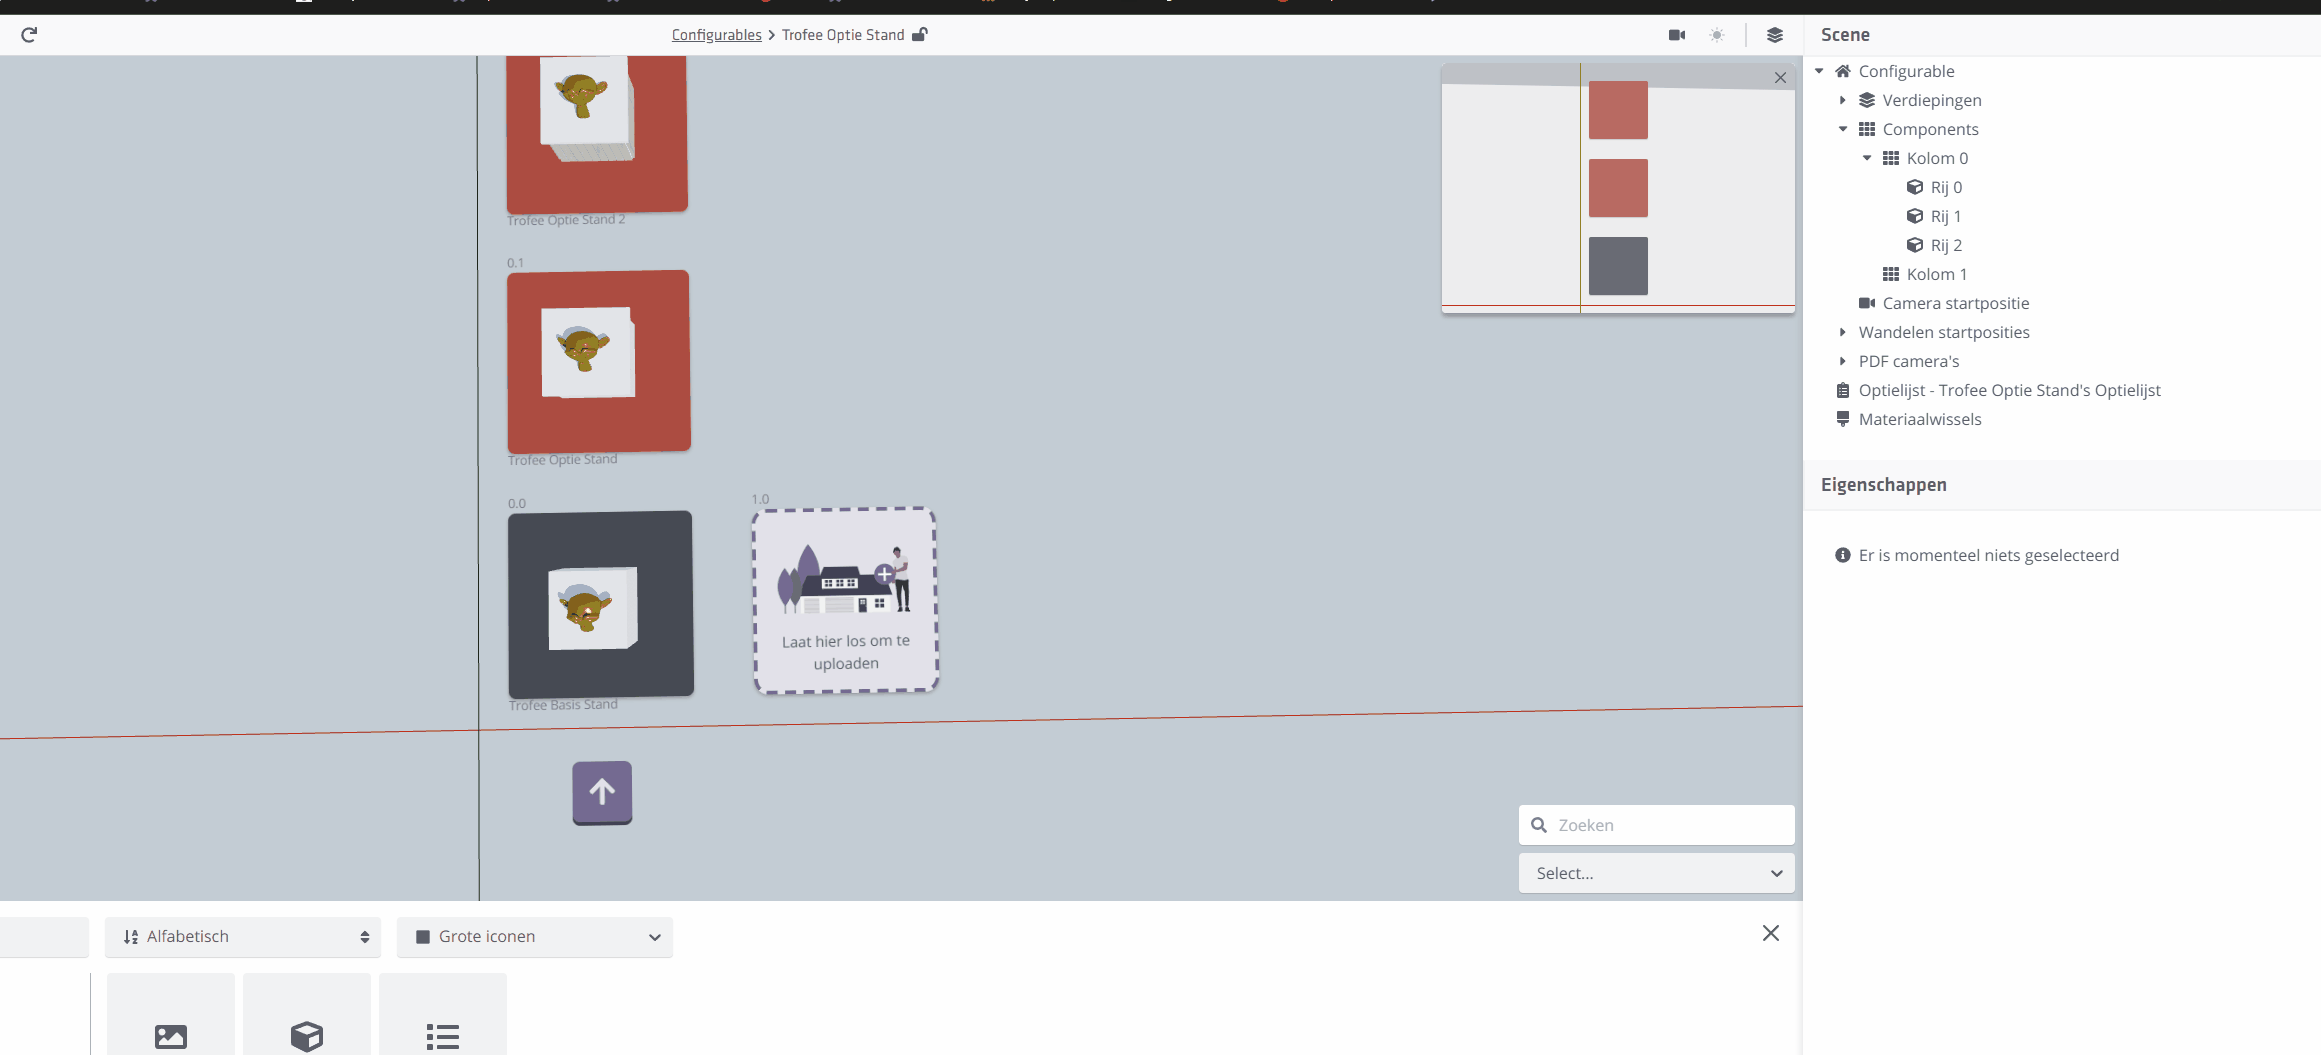
Changing row order in a column
When initially uploading multiple GLB files at once, Innobrix does not know which is a base group and which is an option group, so you may need to reorder rows. Do this in the Outliner (menu on the right) by dragging a Row. Any option links or default markers on that Row move with it.
Creating a new column
Sometimes you want new columns when modifying the model or uploading new groups. You can do this in two ways:
Start a new column via the 3D viewport
Drag a GLB file (max one) into the dedicated drop zone. This drop zone is always present next to the highest-numbered column.
Via the Components context menu
In the Components context menu (right-click) you have two actions:
- Create empty component group: add an empty column to move existing groups into. After creating the column, drag a row to move it. (See image below)
- Create component group: you are prompted for a GLB file; after upload and processing it is assigned to a new column automatically.
Adding a new row or group
You can add new groups to your model in three ways:
Via the Components context menu
Right-click "Components" and choose "Create component group". You are asked for a GLB file; after processing, a new column with a new row is added automatically.
Via the drop zones in the 3D viewport
Behind the last row of each column there is always a drop zone where you can drag a GLB file. After processing, the Group is added at that position. The drop zone to the right of the highest-numbered column also adds a new column along with the row.
Via a Column context menu
Right-click a Column and choose "Upload component".
Updating a row or group
You will often need to apply a change to the model�geometry changes or material index changes (which faces use which materials).
Updating a group is done individually. Select the group you want to update or replace in the outliner and open the context menu with the right mouse button.