Option logic & option mapping
Option logic and option mapping
Configuring option behavior is one of the most important parts of the configurator. To clarify what the two terms mean, we define them as follows:
- Option logic: setting an option's behavior/dependencies using boolean logic. An option can activate/deactivate other options or lock/unlock them.
- Option mapping: the process of assigning options from an option list to
Model Groupsin the gridfield.
Option behavior
How options react to each other depends on two factors:
- The
Option typeused. - Configured
behavior fields.
Option type behavior
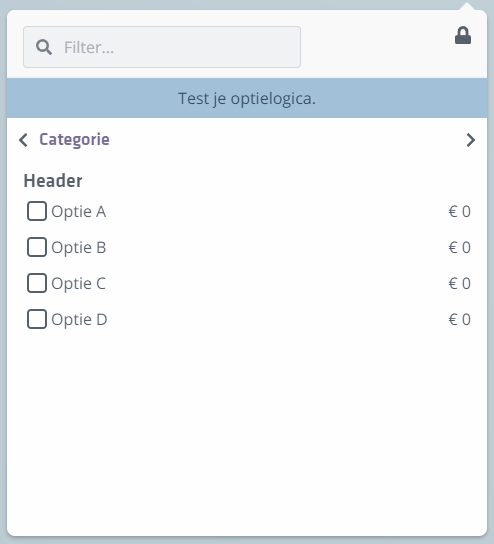
Although four option types can be used, from a logic perspective there are only two types: Checkbox and Radio button. The other two types, Thumbnail and Color, behave like Radio buttons.
-
Checkboxes can be turned
ONandOFF, independent of other options (unless behavior fields are used). -
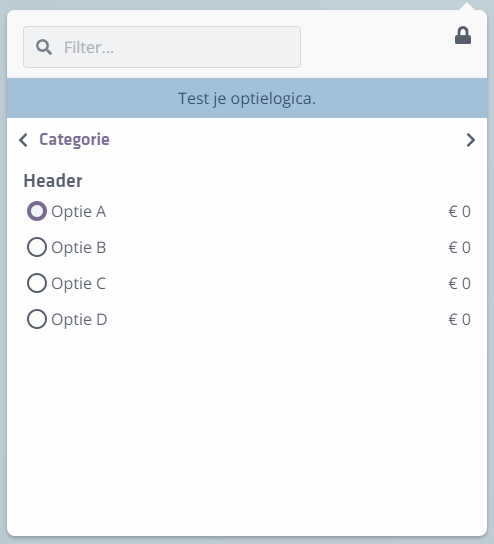
Radio buttons can be turned
ONand neverOFF. Radios under the same header switch each other off. Only one radio under a header can be active at a time.
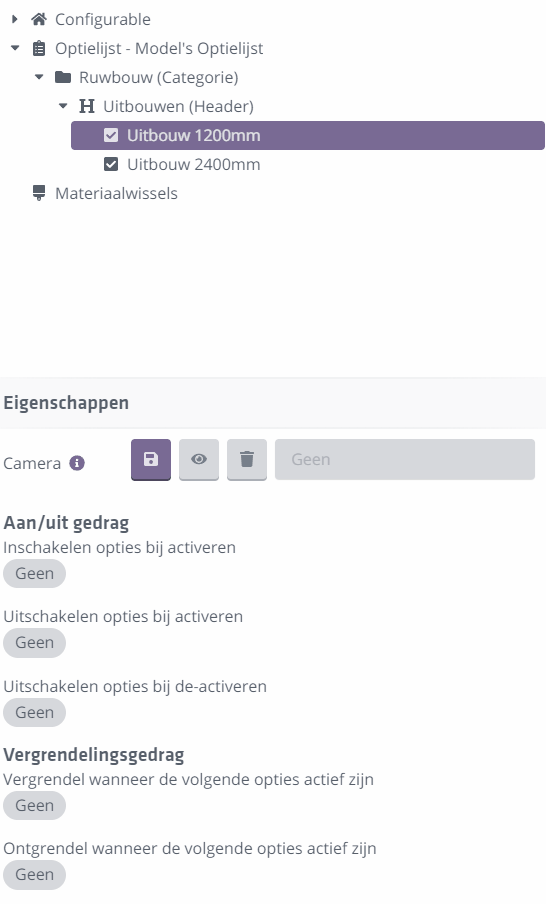
Behavior fields
Option logic, beyond inherent behavior (especially for radios), determines how options interact. The available behavior fields are:
Enable options on activate
— When THIS option is turned ON, the option(s) in this logic field are enabled.
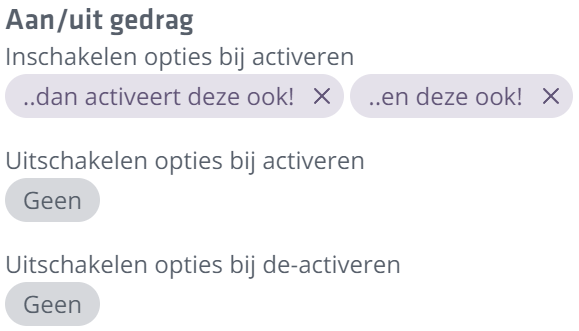
Disable options on activate
— When THIS option is turned ON, the option(s) in this logic field are disabled.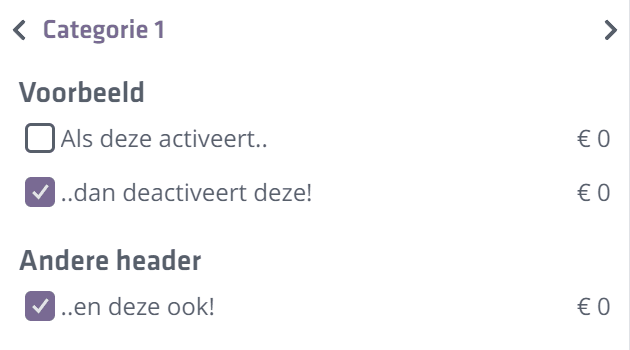
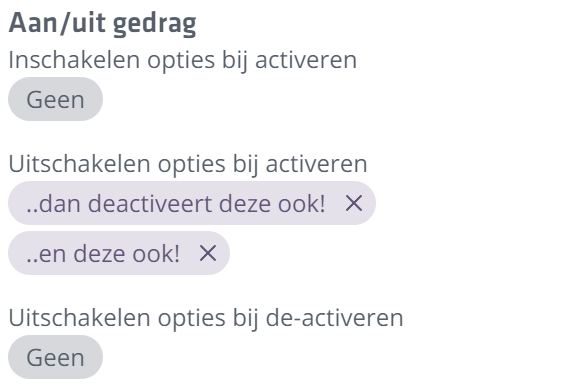
Disable options on deactivate
— When THIS option is turned OFF, the option(s) in this logic field are disabled.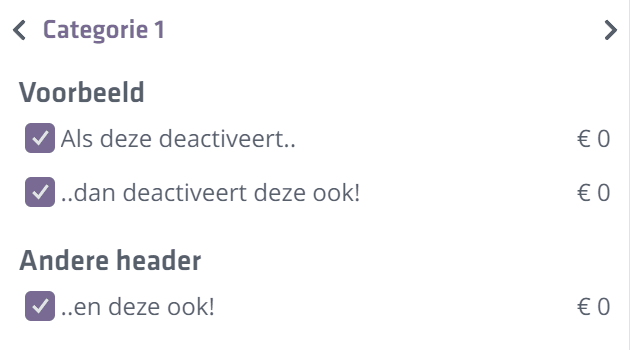

Lock when the following options are active
— Locks THIS option in the option list when the option(s) in this logic field are enabled.

Unlock when the following options are active
— Unlocks THIS option in the option list when the option(s) in this logic field are enabled.

Configuring
To configure behavior for the currently selected option, drag another option from the option list into a behavior field of the selected option. To remove an option from a behavior field, click the x on the pill.
For example, if you have option "Extension 1200mm" selected, dragging option "Extension 2400mm" into Disable options on activate ensures "Extension 1200mm" is disabled when you turn on "Extension 2400mm".
Be sure to set this the other way around for "Extension 2400mm"; otherwise you create a one-way dependency. With checkbox-type options you will typically configure this logic more often.
If you use radio buttons, you do not need logic, but you do need an extra option for "No Extension" (a radio cannot be turned off, only swapped with another radio under the same category or header). Ultimately choose what works best for your model and option list.
Option mapping
Before mapping, have an option list ready. Option mapping links options from the list to Model Groups in the gridfield. In the Configurable Editor, you need to expand the gridfield.
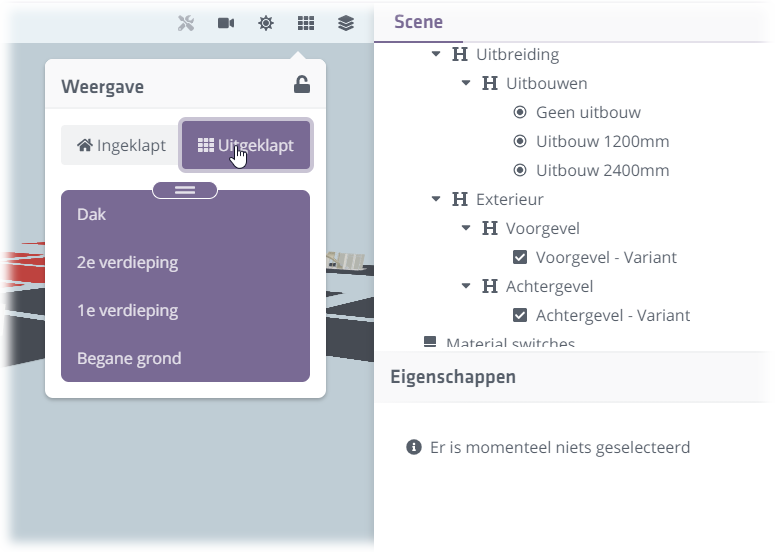
If your gridfield design from Revit is correctly imported, you will see distinctions between cells. A brand-new model looks roughly like this (expanded, top-down):
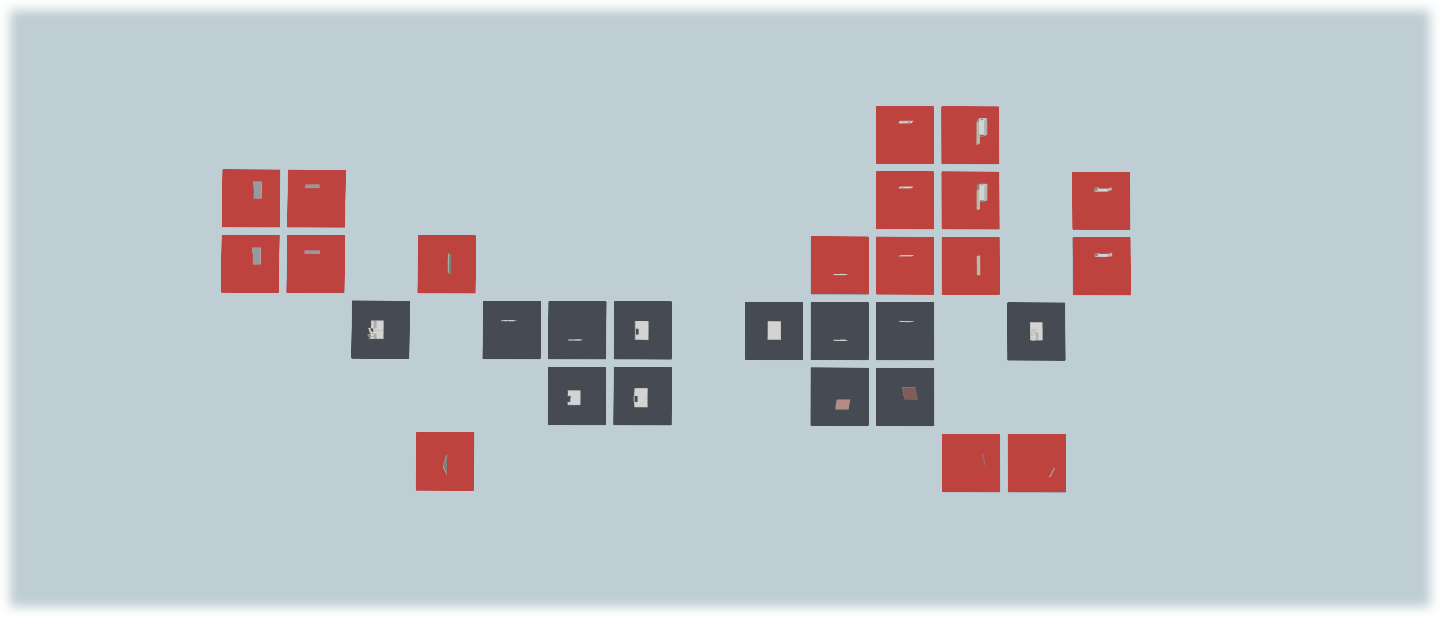
Red groups indicate no option is linked to that cell or logic for the cell is incorrect. Blue groups indicate your base groups (Standard). In practice, these blue groups are always on unless an option swaps the current blue group with another group in the same column.
NOTE: only 1 cell per column can be on at any time!
When you link an option to a cell, the base cell is swapped with the cell linked to that option. To link an option to a cell, drag the option from the option list onto the correct cell in the scene. You can also click a cell and drag an option onto Linked options.
Once linked, the cell is no longer red and shows the option. When that option is chosen in the option list, that specific cell turns on.
Often options can be combined�for example, a sliding-door variant in the rear facade plus an extension option. To support this, you can place multiple options in a single cell, e.g., Extension 1200mm AND Rear facade variant.
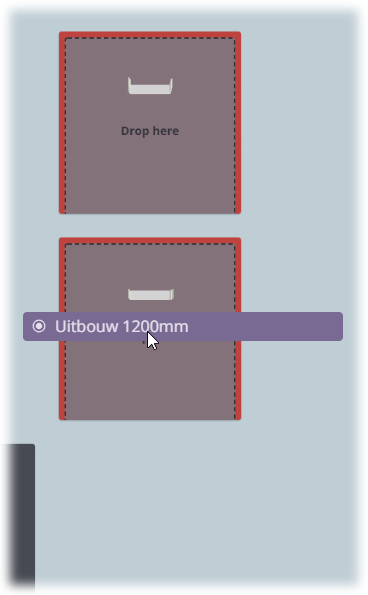
Here we have four cells, bottom to top:
1. No extension
2. No extension AND Rear facade variant
3. Extension 1200mm
4. Extension 1200mm AND Rear facade variant
Because we used the Radio approach for extensions, we need to turn the blue (standard) cell into an option cell. Click the blue cell and turn off the Standard checkbox. (Works the other way too: turn an option cell into a standard cell by enabling it.) We then linked "No Extension" to this base cell.
Besides AND conditions, you can also apply OR conditions in a cell. Use OR when cells can be used in multiple option combinations and are not reserved for just one condition. OR conditions are shown stacked with an �OR� line between them. AND conditions are placed side by side in a cell and marked with &.
Ensure no two groups can turn on in the same column at once. Within a column, the conditions of two or more groups must never be satisfied simultaneously.
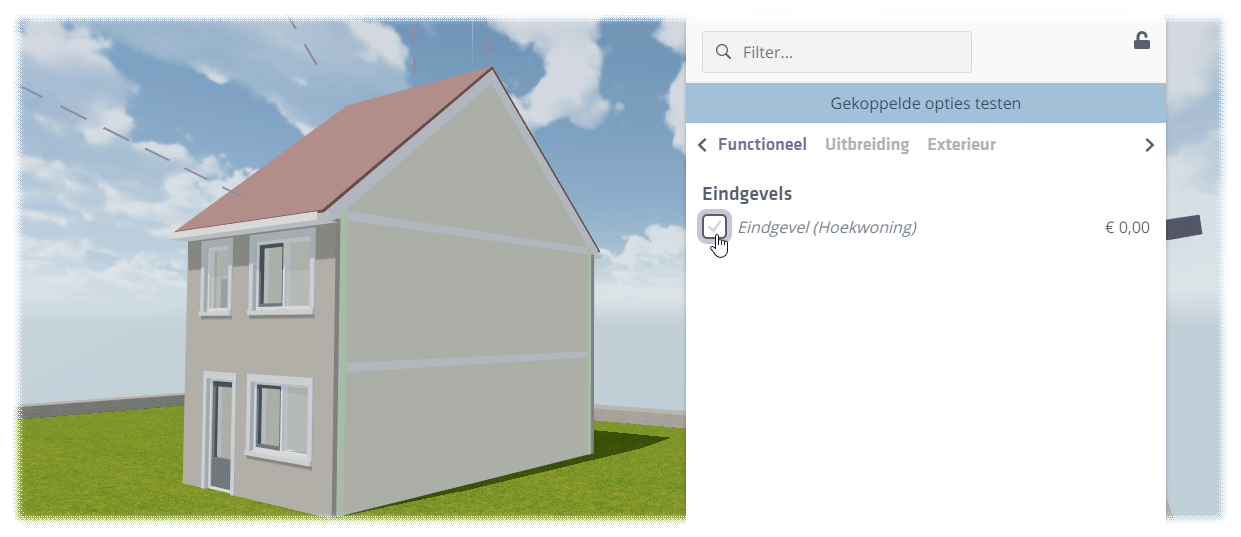
Testing option behavior and logic
When you think mapping is done and want to test, collapse the model again.
When collapsed, only the blue (standard) cells are shown. To test, configure like an end user by turning options on/off. Via the wrench icon you can open the option list in the "user" view and test from there.
If something seems off, go back to the expanded gridfield to find the issue. Ninety-nine percent of the time it is a logic error.