Configurable & Model Editor
The Configurable Editor and Model Editor are the technical workshops and foundation of all projects. This is where you further refine and/or configure your exported BIM models.
In the Model Editor
The Model Editor is for models without options. You can:
- Adjust various cameras
- Edit materials
- Upload textures
- Apply model updates
- Create and/or adjust floors
In the Configurable Editor
The Configurable Editor is for models with options. You can:
- Create or import option lists
- Perform
Option Mapping - Configure option logic
- Adjust various cameras
- Edit or create materials
- Create material switches
- Upload textures
- Apply model updates
- Create and/or adjust floors
Access a model's Configurable or Model editor by going to the Configurables or Models page and clicking the model thumbnail.
Camera Start Position
The camera start position defines the camera viewpoint of this Configurable when an end user clicks a Home in the Viewer and views or configures it. This camera also determines the model's rotation pivot based on its orientation; in the Viewer the camera orbits that pivot. Orientation can be set manually in the Properties panel by entering position and rotation values. An easier way:
- Orbit the model and pick a good viewpoint.
- Right-click
Camera Start Positionand selectUse current camera position(or pressAlt + C).
Top-down start position
This camera defines the top-down viewpoint when chosen from the camera menu. The camera shows a small preview and can be adjusted via the move tool or the rotate tool (rotation only on the Z axis because it is top-down).
Walk start positions
Set Walk mode positions here per floor.
See also: Walk Mode.
PDF cameras
PDF cameras are used when generating screenshots for the automatic PDF and are created based on available Floors. Each camera offers a small preview and can be moved if needed�usually unnecessary unless the home has an unusual shape.
PDF cameras or the automatic PDF cannot be disabled. However, you can attach your own PDF brochure via Project Properties.
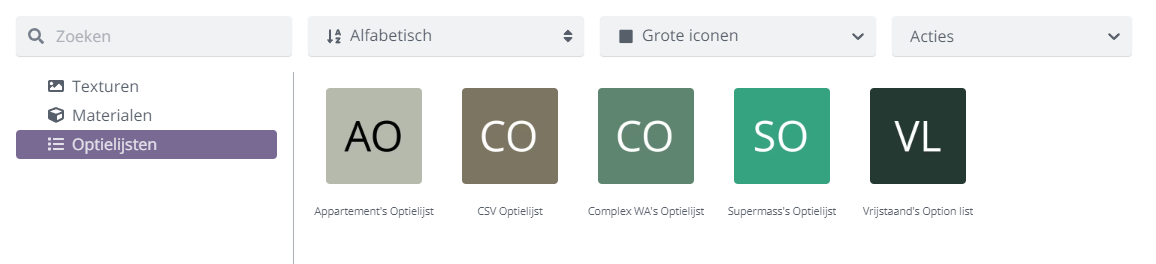
Option list
This item in the Scene hierarchy shows the structure of a linked option list. Next to "Option list" you see the name of the linked list, along with some properties such as an icon.

All available option lists are in the Content Browser under Option lists.
How to set up, import, export, or link option lists is explained here.
material switches
material switches are tied to an option list and allow swapping materials.
See also: material switches