Configurables - IBX
This article is intended for users who built their optioned model in Autodesk Revit with the Innobrix add-in and parameters.
IBX: The Innobrix file
Configurables are configurable models; options can be assigned to them. If you prepared your model in Autodesk Revit for Innobrix, you likely installed our Revit add-in to work with options. In that case, you are working with the Innobrix file, a *.ibx.
An IBX file contains the content (geometry and materials) of the Model Groups annotated in Revit with the Innobrix parameters. Model Groups in Revit that are correctly annotated with Innobrix parameters are exported to an IBX file when you choose Generate and Export from the Innobrix add-in ribbon in Revit.
Uploading and importing an IBX file
An IBX file can be uploaded to either a Models or Configurables library. Depending on factors like the number of Model Groups, geometry complexity, and object count, processing and optimization may take some time. There are also a few optional upload settings you can adjust if needed.
Importing into a Configurables or Models Library
Importing via the Configurables or Models page is the primary and recommended workflow to process BIM models for use in projects and plans.
- Click the
ConfigurablesorModelspage in Studio.
- If your model has options, choose
Configurables. - If your model has no options, choose
Models.
-
If no Library exists yet, or you need a new Library for the upcoming project, create one here. Otherwise choose an existing Library to import the model into.
-
Click + Create new model or + Create new configurable to open the screen where you can drag and drop an IBX file. Alternatively, click the drag-and-drop field to open the file explorer and select an IBX file manually.
Configurable Editor / IBX
Clicking the thumbnail of a Configurable on the Configurables page opens the Configurable Editor.
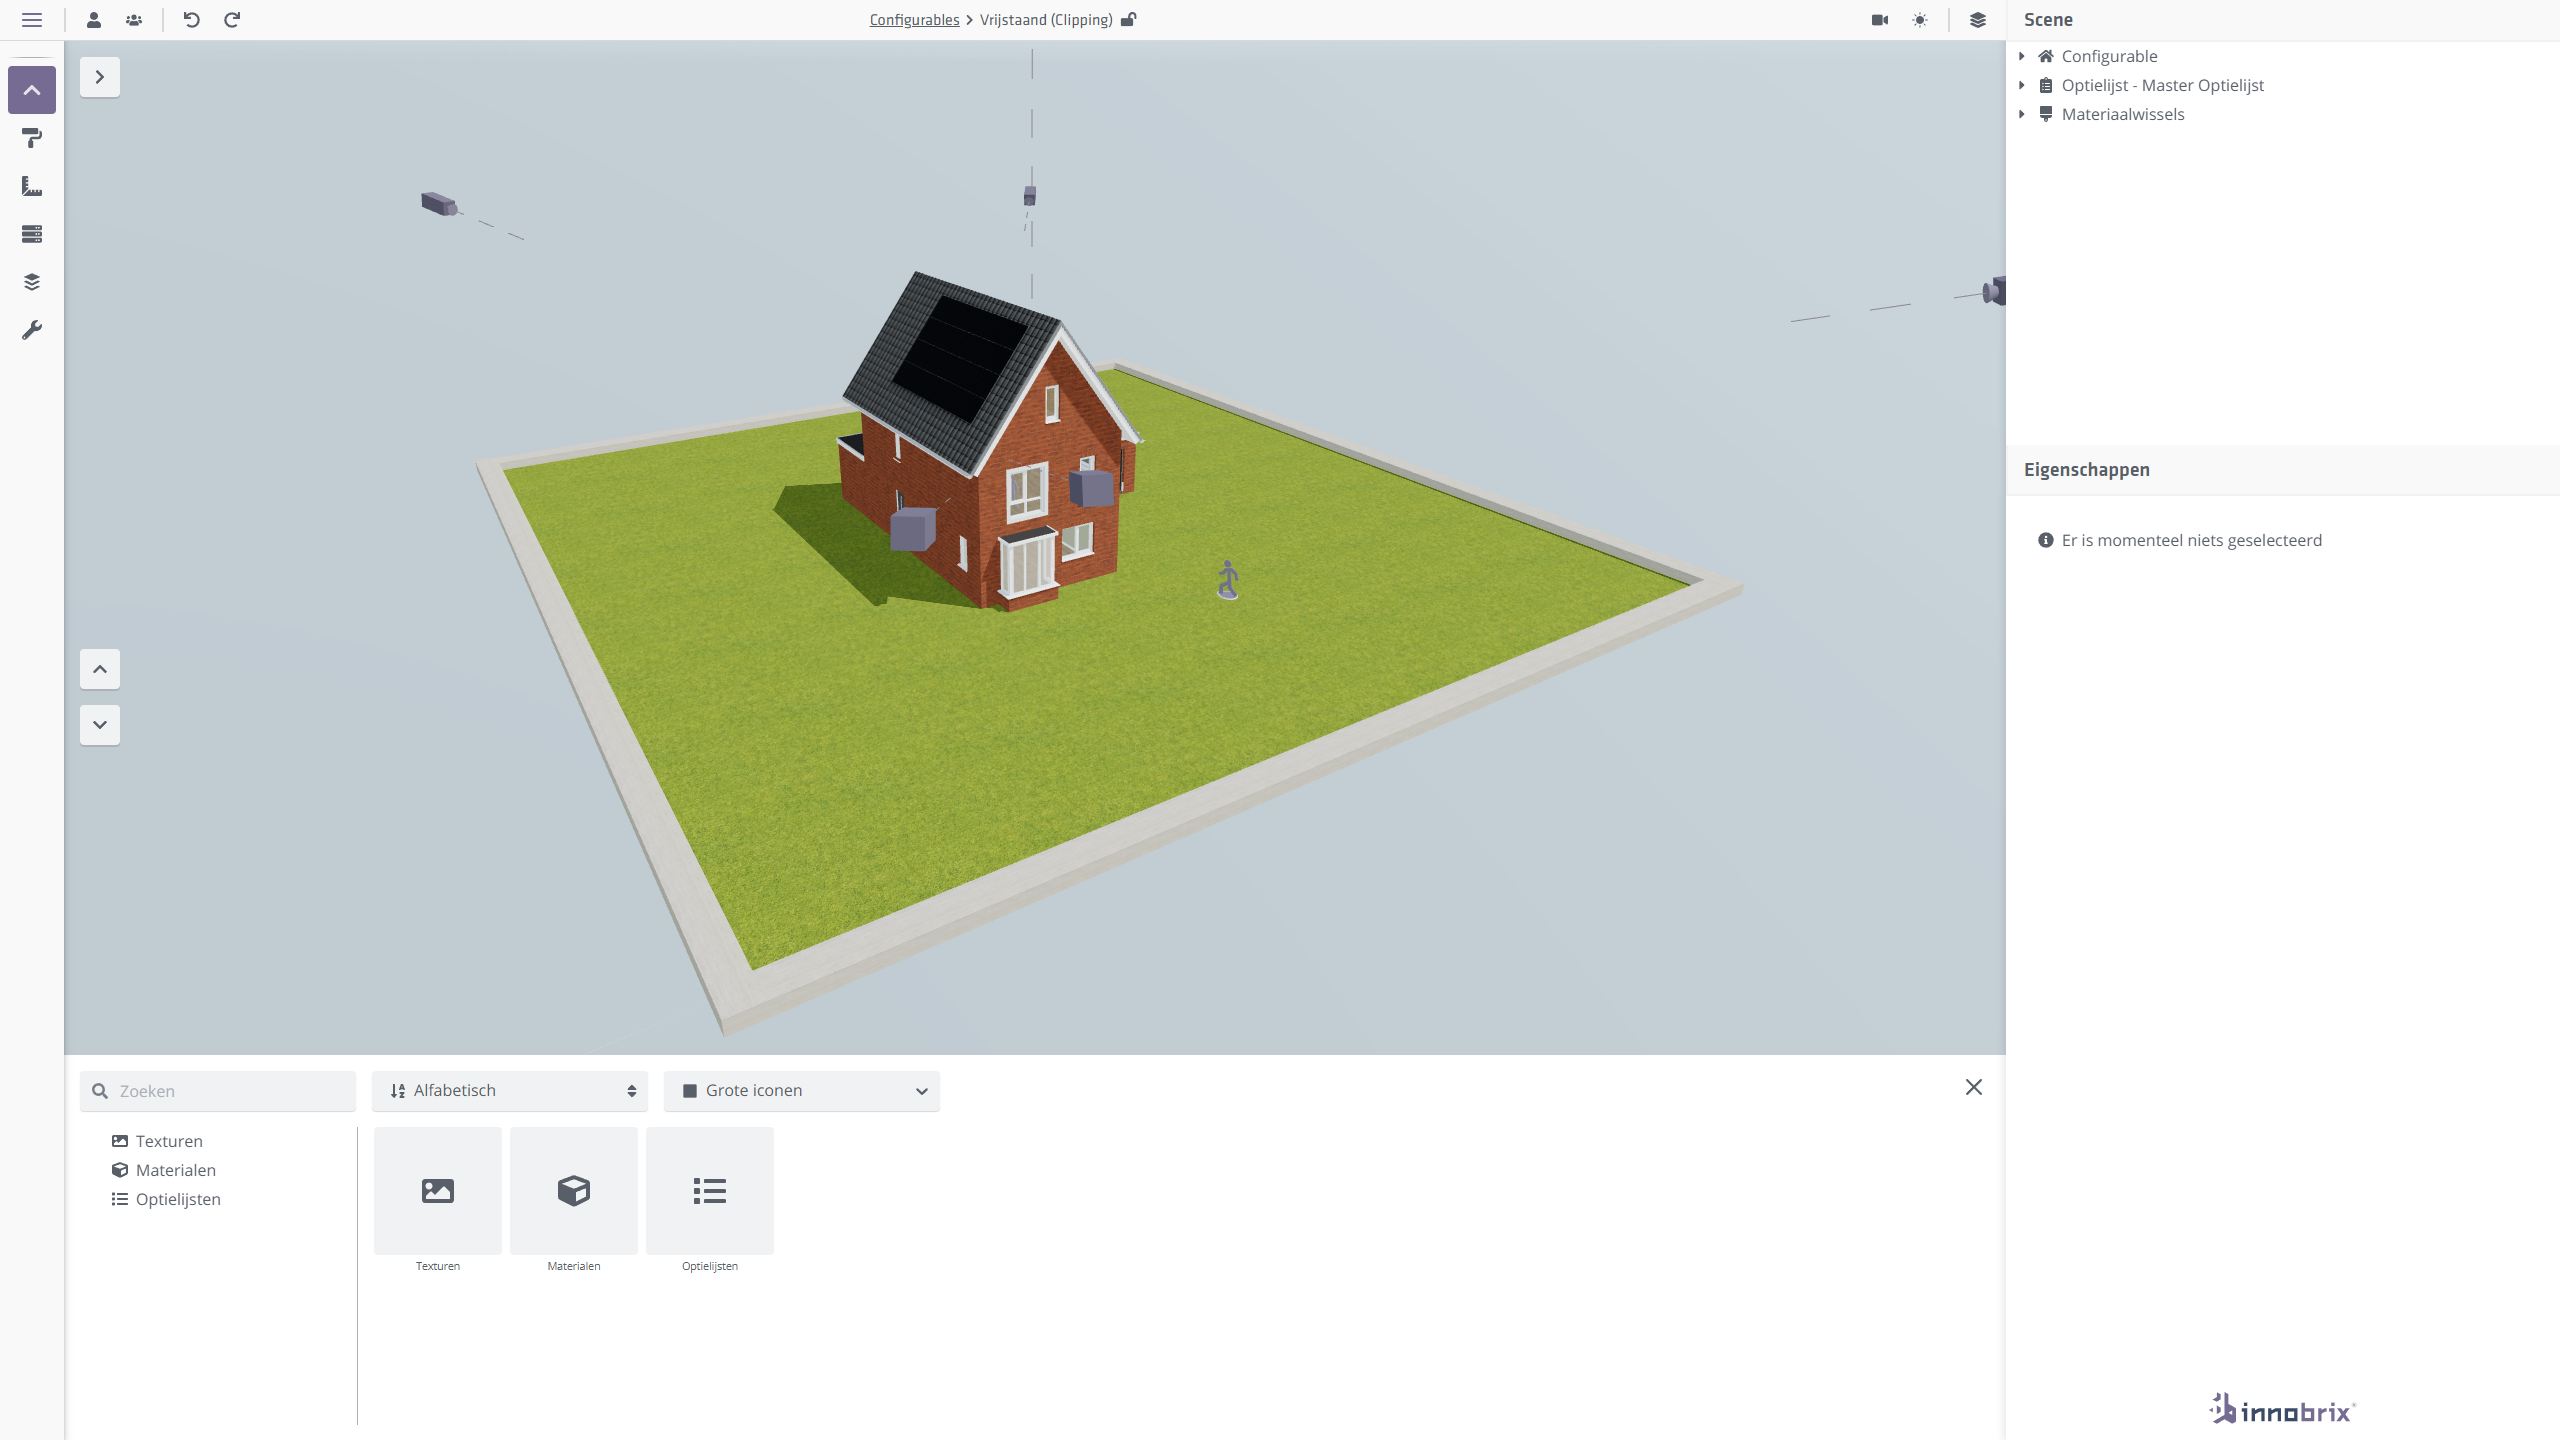
In the Configurable Editor you prepare your model for implementation in projects like a Home Configurator or Plan Configurator. You can:
- Create or import option lists
- Set option dependencies and logic
- Perform option mapping
- Adjust various cameras (Walk mode, Orbit, PDF, etc.)
- Adjust materials or create materials
- Create and configure material switches
- Upload textures
- Create and adjust floors
- Apply model updates
Updating a model
When the model has changed or model issues were found, you likely want to apply these changes in Innobrix. Do this with a Model Update. Often you make a new selective IBX export from Revit and load that new IBX into the Configurable Editor.
What does a model update do? Depending on what is exported from Revit:
- Add new
Model Groups(for aConfigurable). - Replace existing
Model Groupswith updated content or geometry (for aConfigurable). - Replace the entire model for a
Model.
A model update will never delete existing Model Groups for a Configurable.
Updating IBX models always happens inside the Configurable Editor or Model Editor.
For a Configurable update it is not required to update the model in an expanded state. Collapsed is fine too.
Floors
The Floor Switcher menu lets you view sections of the model. Which Floors appear depends on which floors are available and correctly configured.
Configuring Floors
Here you see all available floors your model can use.
These come primarily from Revit and drive the
Floor Switcher. The Floor Switcher controls the horizontal cut planes of the model.
The Floor Switcher is based on the exported Revit levels (marked as Building Story). It is possible that too many levels were included in the IBX export. In that case, you can hide certain floors via the eye icon .
Hidden floors are not shown in the floor switcher.
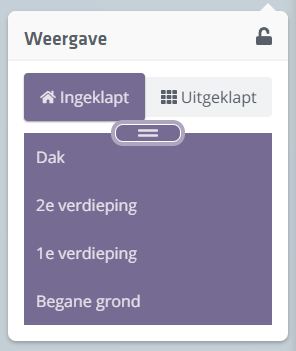
If you choose "Ground Floor" (height 0) in the Floors menu, the clipping height is set to the height of the first visible floor above. The floor thickness of that upper floor is then subtracted.
That makes sense: if you used the ground floor height itself, you would see almost nothing.
Creating an extra Floor
While the starting point is that the Revit levels are correct, sometimes it is handy to have an extra floor. For example, when you lack a (Building Story�marked) Revit level for the top of the home. One way to add it is via Revit and a model update.
A faster way is via the Floors context menu. You can create a new Floor and set its height and name. That is not possible for Revit-derived levels; Revit properties are static and read-only.