Material and Texture Library
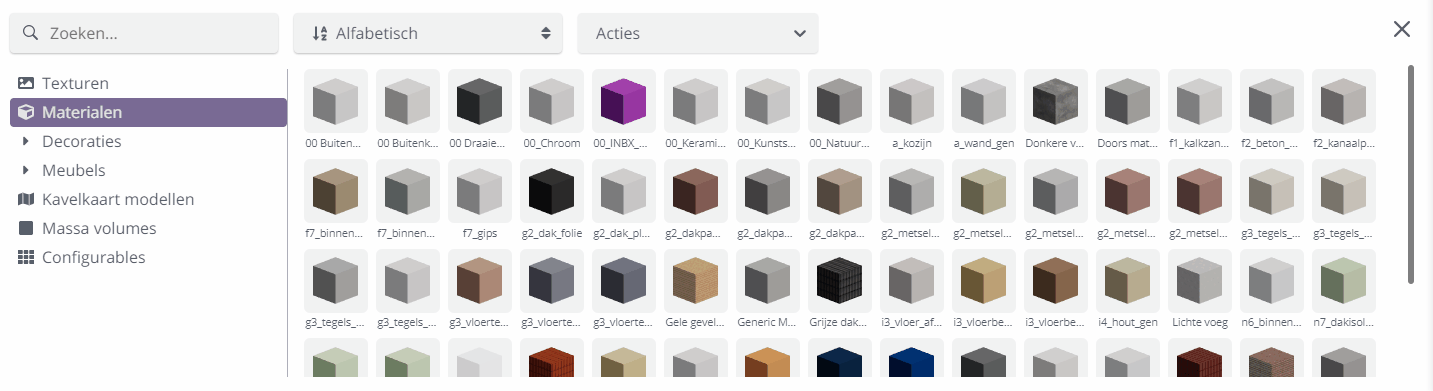
Materials and textures
All geometric elements exported from Revit to Innobrix via an .IBX file contain a Material property. A Material provides the 3D visualization of that element in Innobrix.
All materials on your model are available across the entire Library where you import the model. If you reuse a material like g2_metselwerk across multiple models but use project- or plan-specific textures, it is better to handle that via a Functional option in the form of a material switch.
Materials
For example, a Wall element in Revit may have a material named g2_metselwerk. Or, when no explicit material is assigned in Revit, the material falls back to a generic System Family material, often named something like Generic Models Material #7F7F7FF.
Properties of a Material
A material in Innobrix has several properties:
Name
— Name of the material.Due to an internal technical limitation, a material name is limited to 56 characters. Names longer than 56 are truncated. We recommend shortening long names.
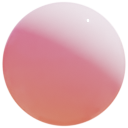
Color
— Base color of the material.Emissive
— Secondary color used to give the material an 'emissive' tint. (Note: this does not make the material emit light.)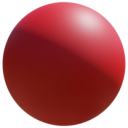
Double sided
— Enable to show a material on both sides; a quick fix for issues like holes in a mesh.

Transparent
— Is the material transparent (e.g., glass)?Alpha Test
— Threshold where a material with an alpha channel becomes transparent/opaque.Opacity
— Transparency level. 0 is fully transparent, 1 is fully opaque.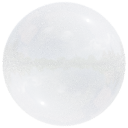
Roughness
— Roughness value. 0 is fully rough, 1 is smooth like a billiard ball.Metalness
— Value that gives the material a metallic reflective effect.
Texture
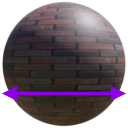
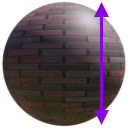
— The texture applied to the selected material.Repeat X, Y
— Number of times the texture repeats per meter on the X and/or Y axes.Offset X, Y
— Texture offset on the X and/or Y axes (horizontal/vertical).Rotation
— Texture rotation (in degrees).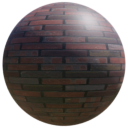
A Texture is a property of a material. A Material can be shown without a texture, but a texture cannot be shown without an underlying material.
Creating a Material
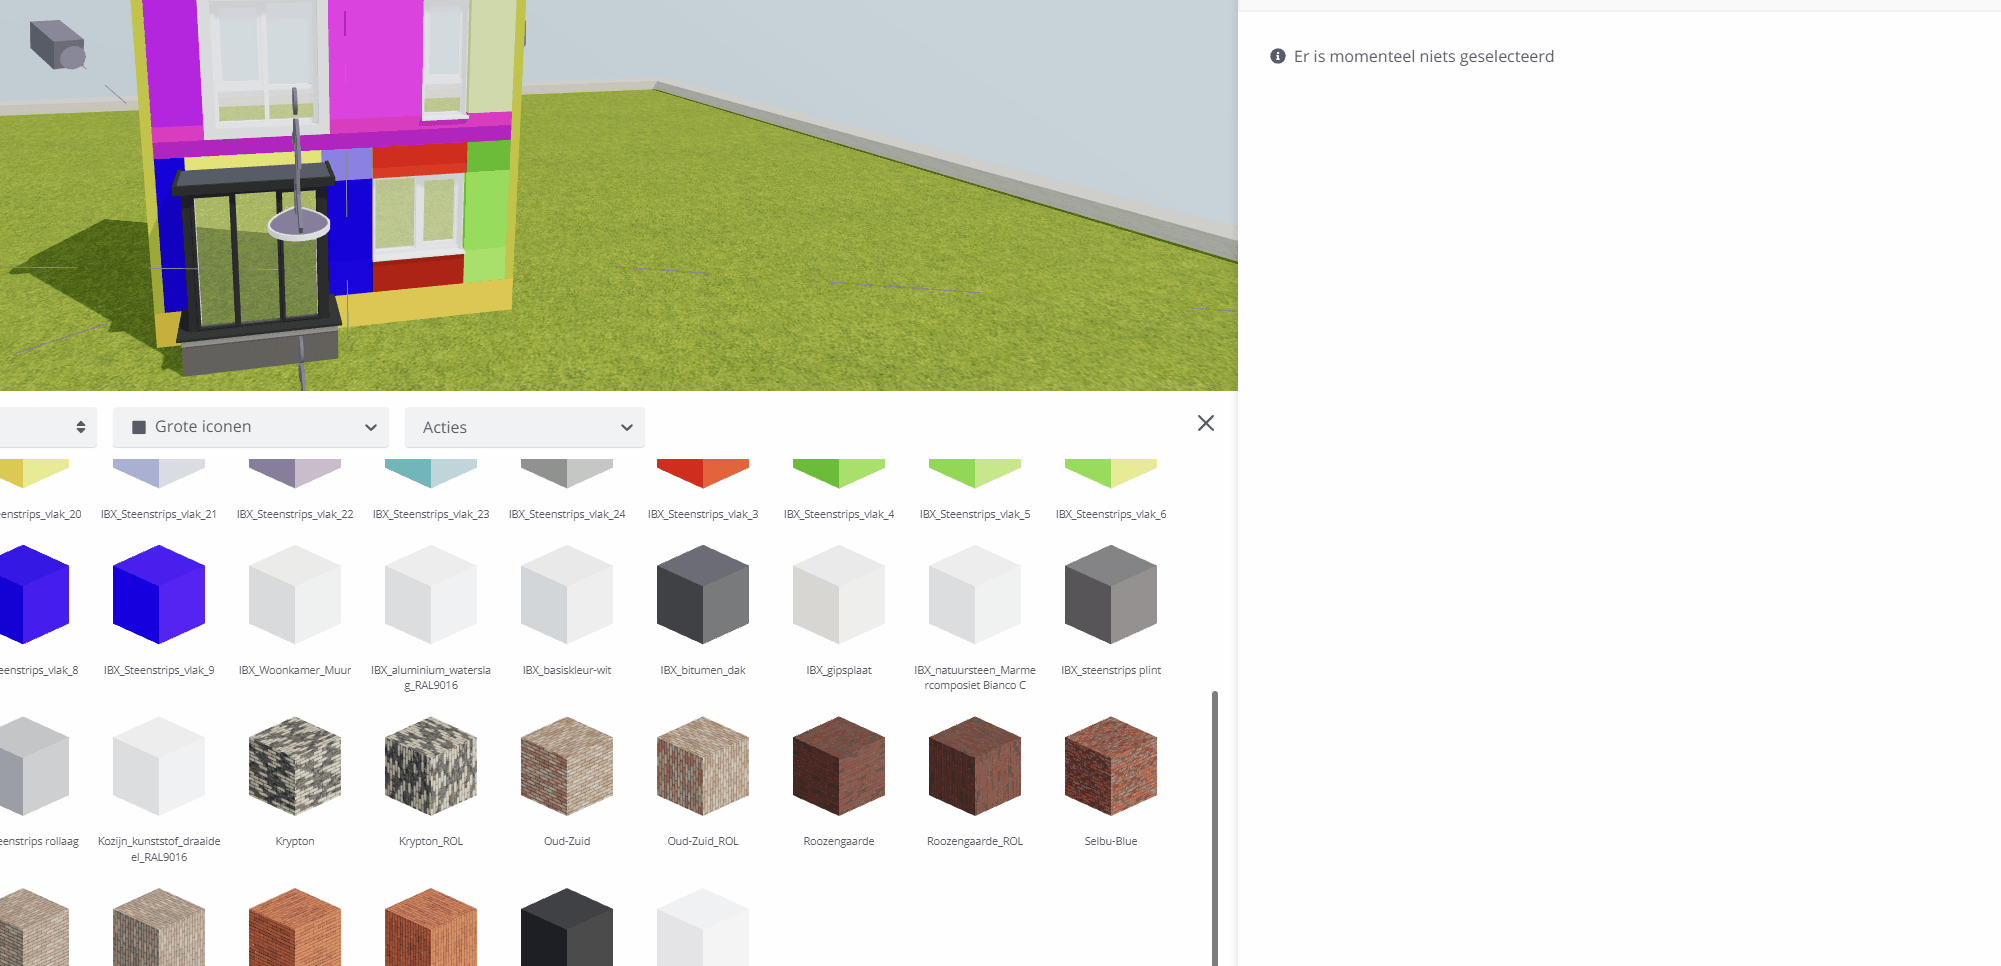
Beyond adding materials from an .IBX file, you can manually add materials in the material library. Manually added materials are mainly used for material switches.
Uploading an image in the material library adds a material. Drag the image from your computer into the content browser, category "materials". The file name is used as the material name.
The texture linked to the added material is automatically added to the texture library.
Duplicating a material
You can quickly create a new material by duplicating an existing one. Click a material and choose Actions --> Duplicate.
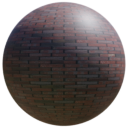
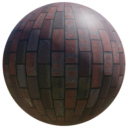
Textures
From the Textures section in the Material properties panel, you work with Texture properties. Textures make your model visually appealing to configurator visitors. Not all images you find online are suitable as textures.
Textures do not come over from Revit when they are already linked to a material in Revit. The texture resolution Revit uses is too low for good visual quality.
Texture specifications
What does a good texture need?
- A texture should generally not exceed
1024 pxx1024 px. Larger textures are accepted but not recommended because they impact load time. - A texture file size of 1 MB or less.
- Prefer
.jpgor.jpeg, unless transparency is needed�in that case use.png. In most cases you will use.jpg. Formats like.pdfor.bmpare not supported. - A good texture is seamless: when it repeats, there are no visible edges or seams.
When textures are uploaded, Innobrix automatically converts and optimizes them in the background to *.webp and *.avif, two web-optimized formats.
Assigning a texture to a material
Loaded textures can be linked to materials in the Material library within the Configurable Editor. Linking a texture to a material shows the texture on the Configurable and can be used later in a material switch.
Open the Texture library again in the Content Browser of the Configurable, Model, or Terrain Editor.
Drag the desired texture from the texture library onto the correct part of your model (with the correct material). Once you see the texture preview on the correct element, release the left mouse button to apply it.
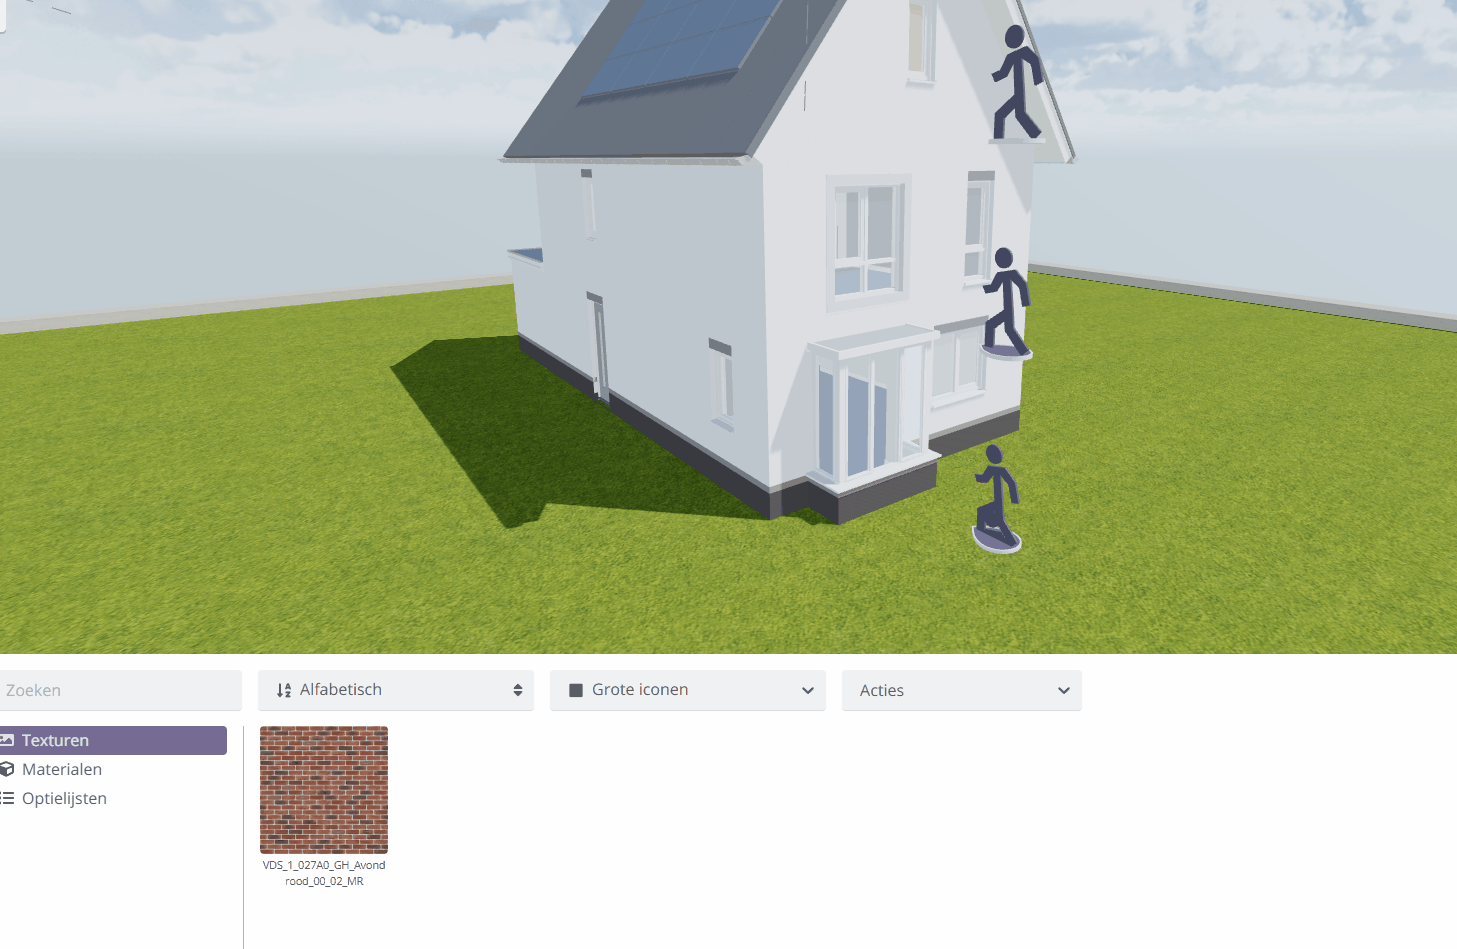
Another way is to select a material manually (for example via hotkey i) and then drag the texture into the proper texture slot.
