Option Focus
What does "Option Focus" mean?
Option Focus automatically guides the buyer/visitor to the option they select in the option list via a camera animation to a preset camera position. You can also switch the floor switcher to a specific floor. This makes the options you offer clearer.

Setting an Option Focus
Configure Option Focus camera positions in a model's Configurable Editor. You can set specific camera positions for Categories, Headers, and individual Options.
Be aware of the priority when Option Focus is set on a category and its underlying header or option.
Priority:
1. Option
2. Header
3. Category
If no Option Focus is set anywhere within a category, the camera will not move for the end user; the current camera position remains.
Example
A concrete example: you apply Option Focus to category Extensions with a header Rear facade and three options:
- Extension 1200mm
- Extension 2400mm
- Window in side wall of 2400mm extension
If you set Option Focus on the Extensions category, you might pick a camera view focused on the rear facade. But for the option "Window in side wall of 2400mm extension" you can set an Option Focus that targets the side facade instead.
Steps to set an Option Focus
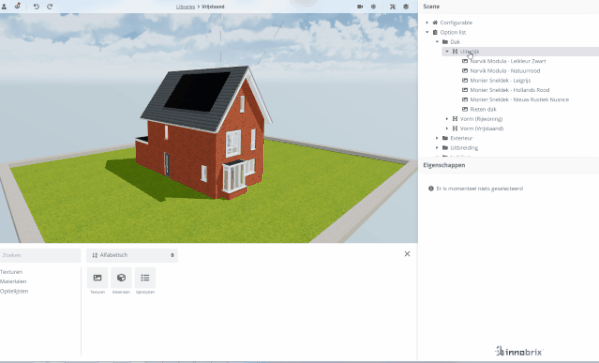
1. Go to the model's Configurable Editor where you want to apply this feature.
2. Open the option list and click a Category, Header, or Option whose camera position you want to set.
Under the Camera property of the selected category, header, or option you see these buttons:

From left to right:
- Info icon: brief explanation of this function
- Save icon: Save the current camera position for the selected option list item
- Eye icon: animate the Option Focus preview and move to the saved position
- Trash icon: Remove the saved Option Focus for the selected option list item
- Floor: Indicates up to which floor the Floor Switcher is shown
3. Collapse your model (if not already) and position yourself so the part of the model you want to show is clearly visible.
You can use the floor switcher during this process. The chosen floor is stored with the camera position.
4. Click the Save icon to store the position.
If no Option Focus was set yet, a camera preview appears in the lower-left showing the viewpoint.
Optional: choose another viewpoint in the editor and click the Eye icon to preview the transition. If you are not satisfied, you can set it again via the Save icon or remove it entirely with the Trash icon.